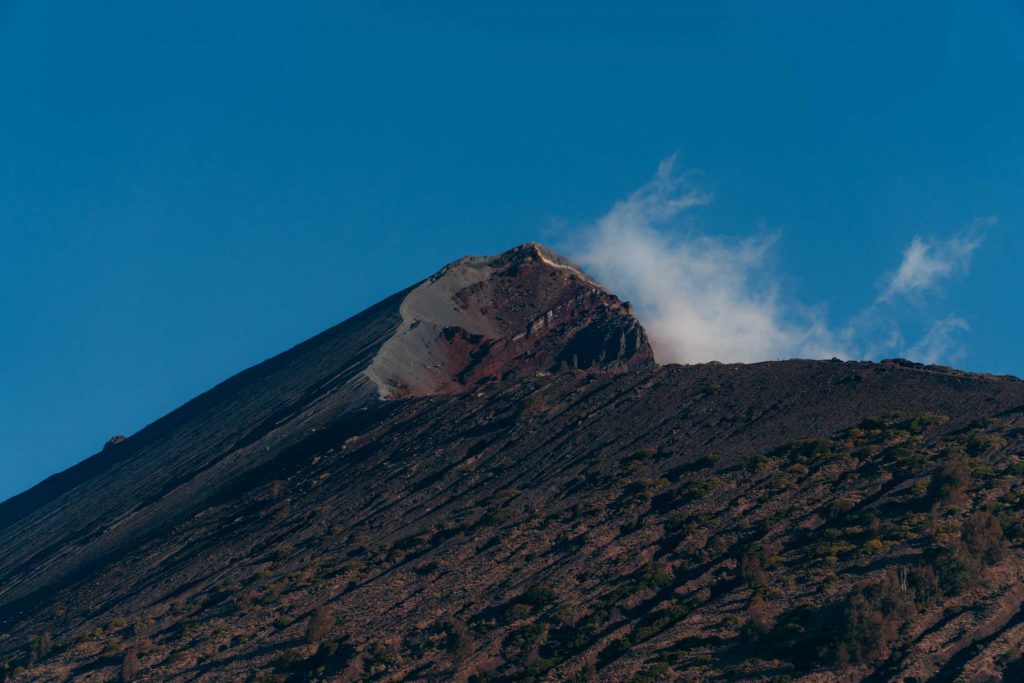
Hiking is one of my favorite pastimes while traveling, which is why Mount Rinjani was at the top of my bucket list when visiting Indonesia. It is the country’s second-highest volcano and provides an incredible view over Lombok, with both Bali and Sumbawa visible in the distance. But most of all, it is the ultimate physical and mental test, as you will be crossing quite some difficult terrain. An experience that no one should miss if you like hiking and epic landscapes!
This Mount Rinjani trekking guide offers you all you need to know, from sustainability questions, to what to pack, where to stay and what to expect while hiking as a gluten free traveler. There were some things I had wished I had known to make both my and Wessel’s experience a little more comfortable, so lucky for you I have gathered all my tips below!
Is the Mount Rinjani Trek Sustainable?
Cultural and Natural Significance of Mount Rinjani
Mount Rinjani is not only a popular tourist destination, but also a sacred site and a vital ecological resource the largest source of freshwater for the island (70%), supporting agriculture and daily life. It also holds deep spiritual significance, in both Islam and Hinduism, which on Lombok are often mixed with Indigenous animist beliefs. The Sasak and Balinese communities consider the Rinjani holy, and many pilgrims visit Segara Anak Lake, offering prayers and cleansing themselves of their illnesses in the hot springs.1
Beyond its cultural and spiritual significance, Mount Rinjani is home to a flora and fauna of both Southeast Asian and Australasian, as it exists directly on that border. As the park hosts endangered species as well, conservation and protection are key pillars of the Gunung Rinjani National Park, which was established in 1997.2
The Rinjani Trek Ecotourism Program
However, just protecting nature through conservation did not seem to be enough, as it was not just a ‘nature park’, but the living space of half a million people. To protect nature, community empowerment needed to be centralized too, which is why the Rinjani Trek Ecotourism Program was initiated a couple of years ago. Key objectives of this program are that trekking revenue benefits local communities, that local communities have a role in decision-making and that both the local and tourism community are empowered to fight for more sustainable tourism, so they can help protect the land they hold sacred and improve their own livelihoods.3
How does this work exactly, though? Well, the program is too big to cover completely, but to name a few projects: the park fees and other revenues are reinvested into conservation efforts, managing trekking routes and the training of local guides and porters. These trainings not only cover safety and conservation, but also the significant cultural and spiritual history and heritage of the mountain, both to keep the local knowledge alive, and to help visitors gain a deeper understanding of the place they are visiting.4
Furthermore, the program tries to make the benefits reach beyond the tourism sector, by promoting community cooperatives, so farmers and other artisanal professions are also empowered. Additionally, there is a growing effort to involve women as trekking guides, although they are usually not engaged in multi-day treks as this is considered improper. Finally, the park organizes bi-weekly litter clean-ups, but the priority mostly lies with community empowerment rather than green energy or waste.5
Challenges of Sustainable Tourism
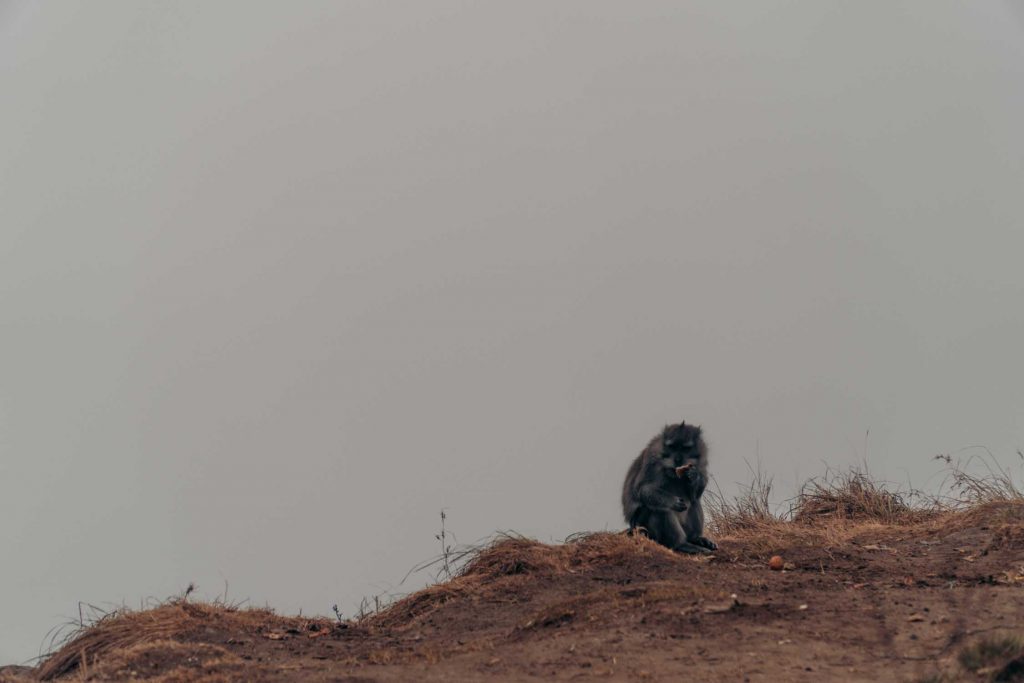
Despite these programs, Mount Rinjani still faces several environmental challenges, like poaching of protected species, trail erosion and degradation, and littering along trekking routes.6 The latter was especially visible during our trek: the crater rim was covered in waste, which attracted multiple tribes of monkeys and rats. As always, tourism has its good and its bad sides.
But, the Mount Rinjani Trek can be done in a sustainable way, if you follow the following tips:
- Be mindful of what you take with you on the volcano and don’t litter. Everything you carry up, you should carry down with you. You can even improve your impact by packing sustainable toothpaste and reusable wipes, for example. Littering is still a huge issue in the park and should be minimized to alleviate its impact on the environment.
- You can help support the local communities by visiting their traditional villages near Senaru, or by exploring what the basket weavers of Sembalun have on offer. This not only helps them economically, but also keeps the local knowledge and lore alive.
- Trek outside of the busiest months on the trek. July and August attract hundreds of visitors, so to minimize the impact on the trail and ecosystem, attempt to trek outside of these months.
- Go on shorter hikes to waterfalls and other landmarks to support the female guides and to learn more about local culture. This is also a great way to warm up for the trek of a lifetime!
I strongly believe sustainability reaches much further than the natural environment. It also includes equity and the endurance of local communities. Both things that are threatened by climate change and homogenizing globalization. Traveling responsibly not only enriches your travel experience, but is also able of supporting the communities you visit.
How to Get to Mount Rinjani
1. To Mount Rinjani via Lombok International Airport
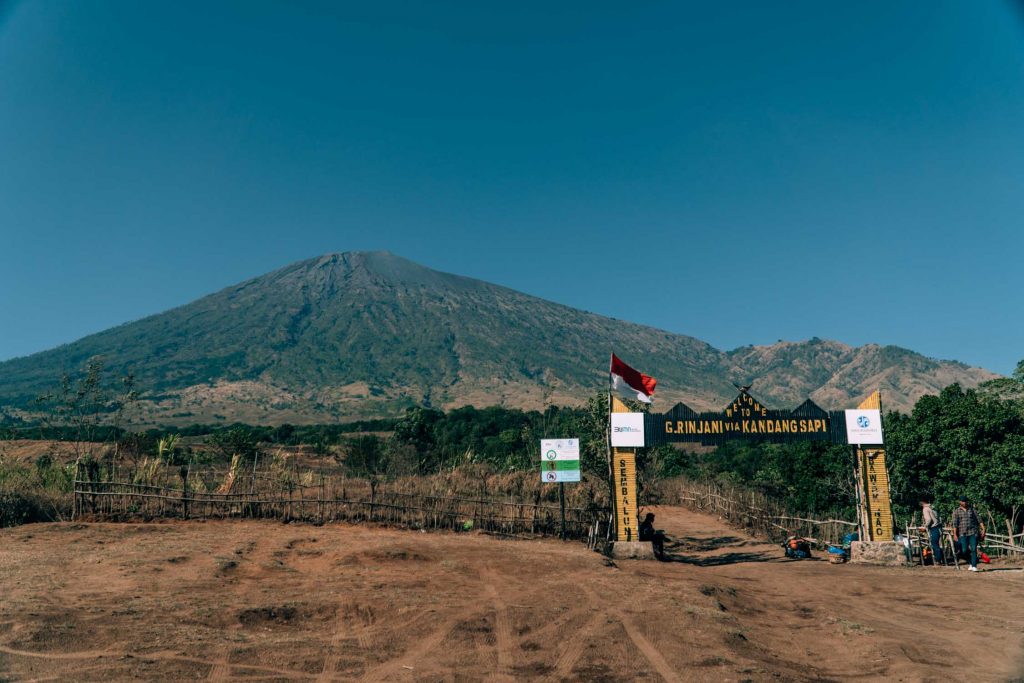
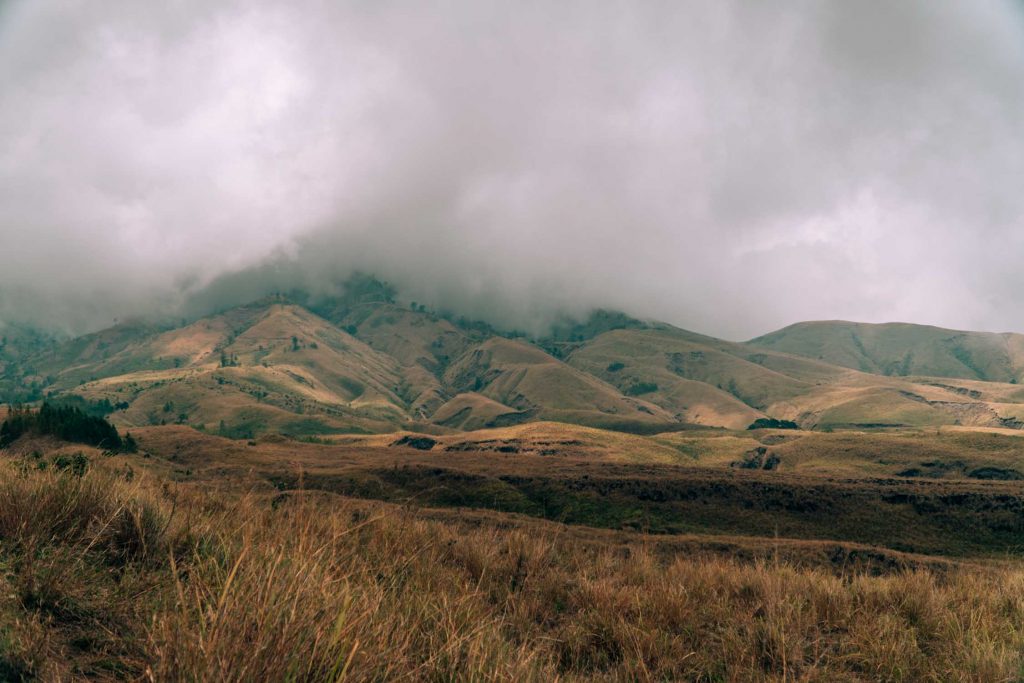
We went to Sembalun for the start of our Mount Rinjani Trek directly from Gili Trawangan, where we had a couple of relaxing days by the water. At Bangsal Harbor, the harbor manager helped us find a driver who would take us to Sembalun. Grabs turned out to be pretty expensive for this 1,5-hour ride! Expect sharp turns and monkeys chasing your car as you make your way up.
Tip! Read all about what to do on Gili Trawangan and the impacts of tourism on the environment.
The easiest way to get to the start of the trek from anywhere in the world, is to fly to Mataram Airport on Lombok and take a taxi from there. We usually find the cheapest flights through Skyscanner, and our flight from Surabaya to Lombok cost us around €40 per person. Check your dates and prices here! From there, the drive to Sembalun will take around two hours, as there is just one highway on Lombok that will circle you around the western side of the island.
2. To Mount Rinjani via Bali
Another popular route to Lombok is via Bali. You can fly into Bali from Singapore, or any other place in Asia. We took the plane from Bali to Singapore, which was super quick and gave us enough time to explore the Jewel of Changi Airport. Once again, we looked for the cheapest flight through Skyscanner and found Singapore Airlines to be the best fit for us.
Tip! Flying to Indonesia through Singapore? Spend one extra day there to explore the city with these tips.
Once you get to Bali, you can take a fast boat to Lombok from either Padang Bai, Sanur Port or Serangan Port. Just be prepared for a very bumpy ride! We did the journey the other way around and were met by a choppy sea. You can also opt for the public boat, which will be less intense and cheaper, but slower. If you do choose to travel through Bali and take the boat, I recommend booking your ticket here in advance.
Where to Stay Near Mount Rinjani
In order to climb Mount Rinjani, you can stay in both Sembalun and Senaru. A friend recommended Sembalun as being less touristic than Sembalun, which is why we loved the village at the foot of the volcano. However, there are some other differences between the two villages that should be taken into consideration when booking your stay.
When you do a 2D1N trek like we did, the path itself will differ depending on which town you depart from. Sembalun offers easier terrain leading up to the crater rim and makes sure you can still summit the peak the next day. The trail from Senaru is tougher and steeper and will not allow you to summit and get back down the next day. If you do the longer version of the trek this would not be an issue, however.

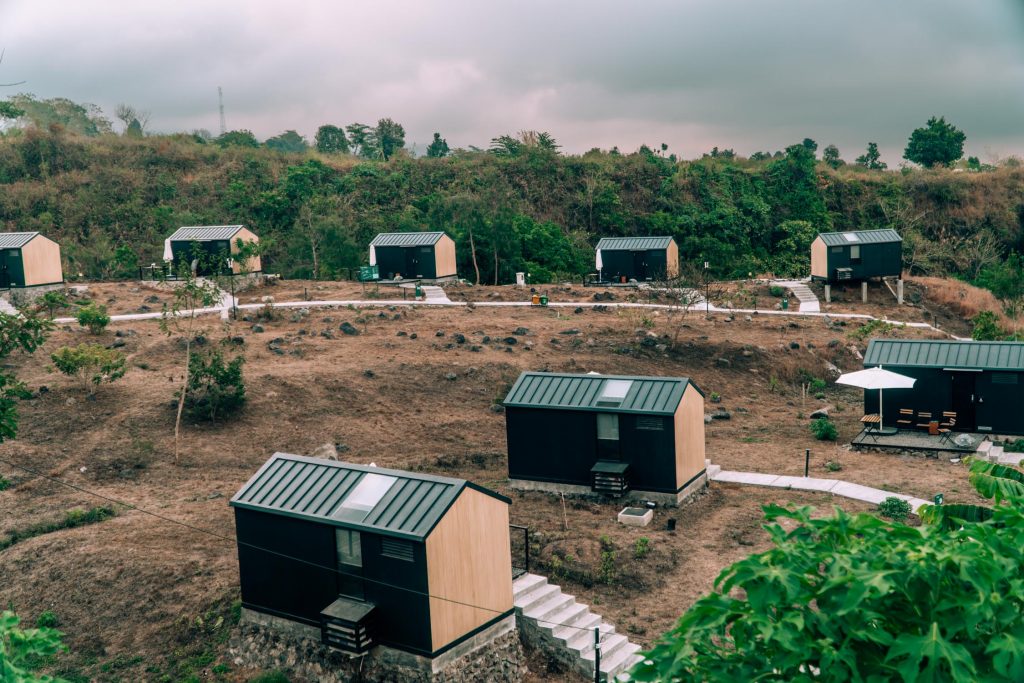
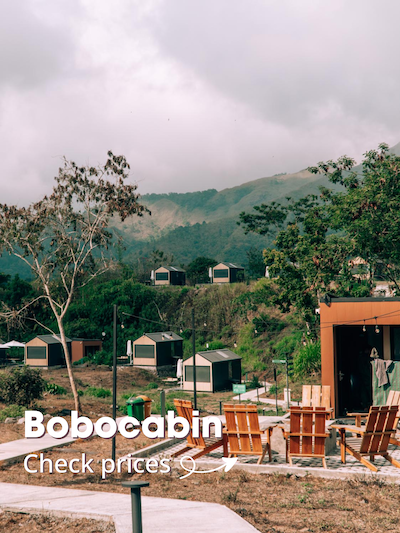
If you choose to stay in Sembalun, I cannot recommend the Bobocabins enough. We instantly fell in love with these simple huts with blurrable windows that perfectly framed Mount Rinjani. The cabin even had smart lighting and built-in nature sounds, which we loved playing around with. Book your stay here for an unforgettable time.
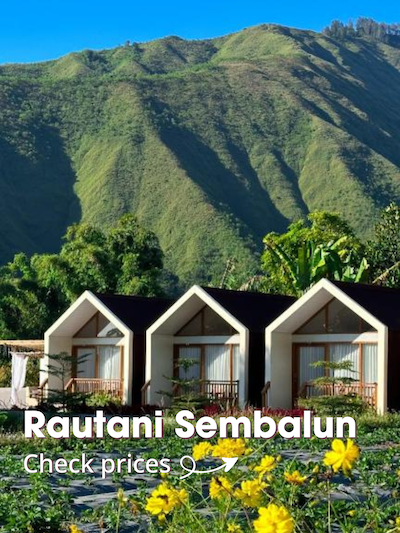
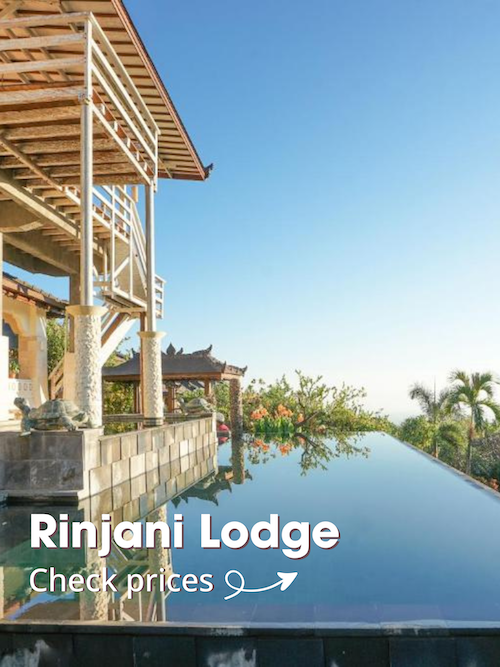
However, if you like to stay somewhere a little fancier in Sembalun, you might like Rautani, one of the many other cabin-style accommodations in the area. These bungalows are a lot more spacious, which might be nice if you want to stay longer than just one night. Planning on trekking from Senaru? Then I think you will love the Rinjani Lodge, which has an infinity pool looking out over Mount Rinjani. Not a luxury when planning on trekking the dusty volcano.
Best Time to Climb Mount Rinjani
The best time to trek the Mount Rinjani depends on what you want to get out of the trek. Due to the monsoon season, the park is closed from January up until March, but that does not mean every remaining month is a good time to attempt to climb the giant. While the park is open, November and December can get really wet and therefore dangerous, which is why many a Mount Rinjani Trekking Guide recommend April until October.
However, our lovely guide Nas said June and July were the absolute best months to do the trek. With clear skies and easier terrain: we would have made it to the top. Yes, spoiler alert, we were not able to climb the last 200 meters to the top. The windstorm that had been lashing at us all night, whipping sand and dust in our eyes, noses and mouths, and knocking us over, made it too dangerous. Others attempted, some managed, but one hiker slid down the mountain. They had survived, but it made us shiver.
As we were at the very end of the dry season, the ground was also very dry, meaning most of the terrain existed of loose sand and gravel. For every two steps forward, we took one back, the steep sandy hills making us slip. According to Nas, the months after the rainy season are much better, as green shoots hold the soil together.
While June and July were his absolute favorite months, you could do the trek any of these months. April to June means warm weather and lush landscapes, with an occasional downpour in April. July and August promise clear skies and soft weather, but also a lot of people as these are the most popular months. September and October are usually a lot quieter, but that does mean you will have to take your chances on the weather and the tough terrain. Take your pick, but we will be back in June someday to retry the summit!
Should You Book a Guided Tour?
Listen to the locals and the Indonesian government on this one: do not attempt to climb the Rinjani without a guide. While trekking with a guide is not mandatory like it is in Nepal, it is strongly discouraged. The week before we did the trek, a hiker had fallen to their death, as they had missed a turn on their way back down from the summit. Something that happens quite often when people go hiking without a guide, according to our guide Nas.
The dangers of getting lost, slipping and things getting very dangerous very quickly also means it is much better to go on either a private tour, or with a small group of max 4-5 people. Another word of caution Nas gave us: the large tour groups usually take on hikers of various levels. The slower ones tend to fall behind, making the guides lose sight of them eventually. While it is okay if you are a confident hiker, I would recommend booking a private tour if you do not have a lot of hiking experience.
Tip! With any trekking company you choose, make sure to tip the porters and the guide. We did not know this was normal, and got some very funny looks when we did tip the porters after Nas told us to do so, but did not tip Nas himself. Let this major shoutout to Visiting Rinjani be our redemption!
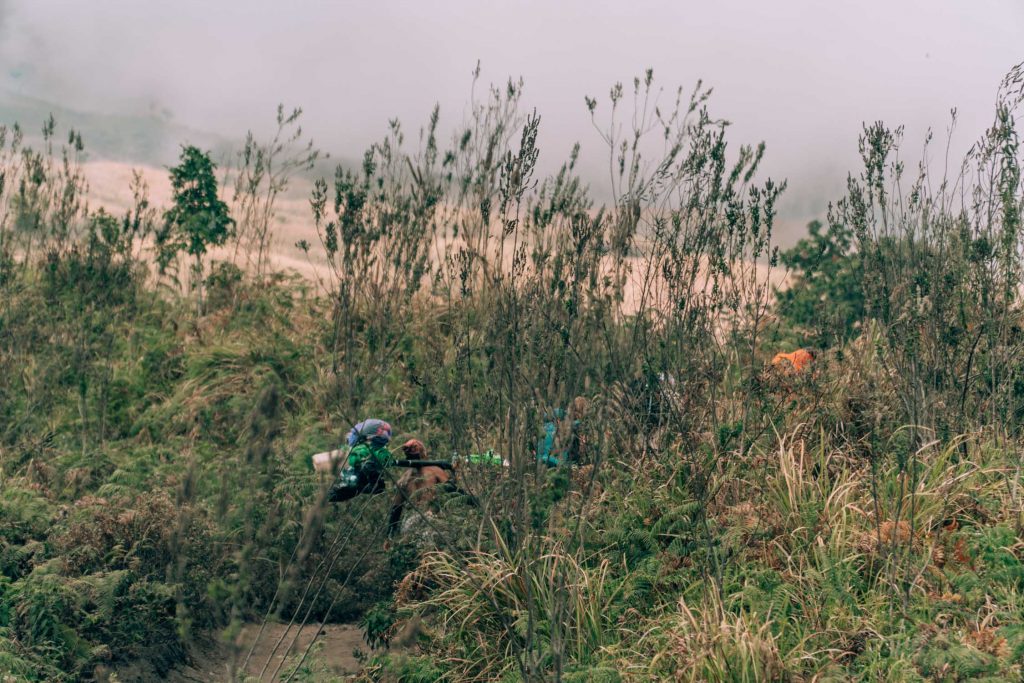
The final reason why I would recommend going with a guided tour, is that everything is taken care of: food, tents, sleeping pads and water, all by the courtesy of the incredible strong porters. Just imagine having to carry all of that up the slippery slopes! The guides and porters you see on the mountain do this trek every week and will be waiting for you at every rest stop, even when you felt like you ran up the volcano.
We booked our trek with a company called Visiting Rinjani and cost us 200 USD per person. While they do not have their own website, they made our trek unforgettable. I really appreciated Nas putting our safety first and being honest with us about the weather conditions. Furthermore, the porters made us so much delicious food, I think I actually gained weight on the trek.
Costs of Mount Rinjani Trek
Everything should be included in the price of your guided tour, which cost us 200 USD per person. This fee covers the medical check you do at the start of the trek and all the park fees. They even covered our pick up and drop off at our next hotel in Kuta, which was a two-hour drive. If you do decide to do the trek on your own (which I still would strongly discourage), you would have to pay this yourself, which will cost you 200,000 IDR per day.
Difficulty of the Mount Rinjani Trek
Even in perfect conditions, the Mount Rinjani Trek is a tough one. Although it tends to get cloudy in the afternoon, there is very little shade, and the terrain mostly consists of loose sand, gravel and scree. A good fitness level and experience in hiking is therefore recommended.
However, personally, I have asthma and was totally fine with my inhaler. I do workout often, though, and the intensive stairclimber workout I do every week, made it a lot easier for me. I also do not think it is as difficult as the Langtang Valley Trek in Nepal, where the altitude played a huge part, or the GR20 on Corsica, where the terrain is super steep and requires a lot of climbing. The thing that made the Mount Rinjani Trek difficult was the extreme weather at the top and the sandy terrain in certain parts.
I think the question you should be asking yourself is: do I love climbing and hiking? If you love it, you can do it, as I believe achieving such feats is more of a mental than physical challenge. But, of course, if you never workout, I suggest some training beforehand.
Gluten Free Tips and Quick Note
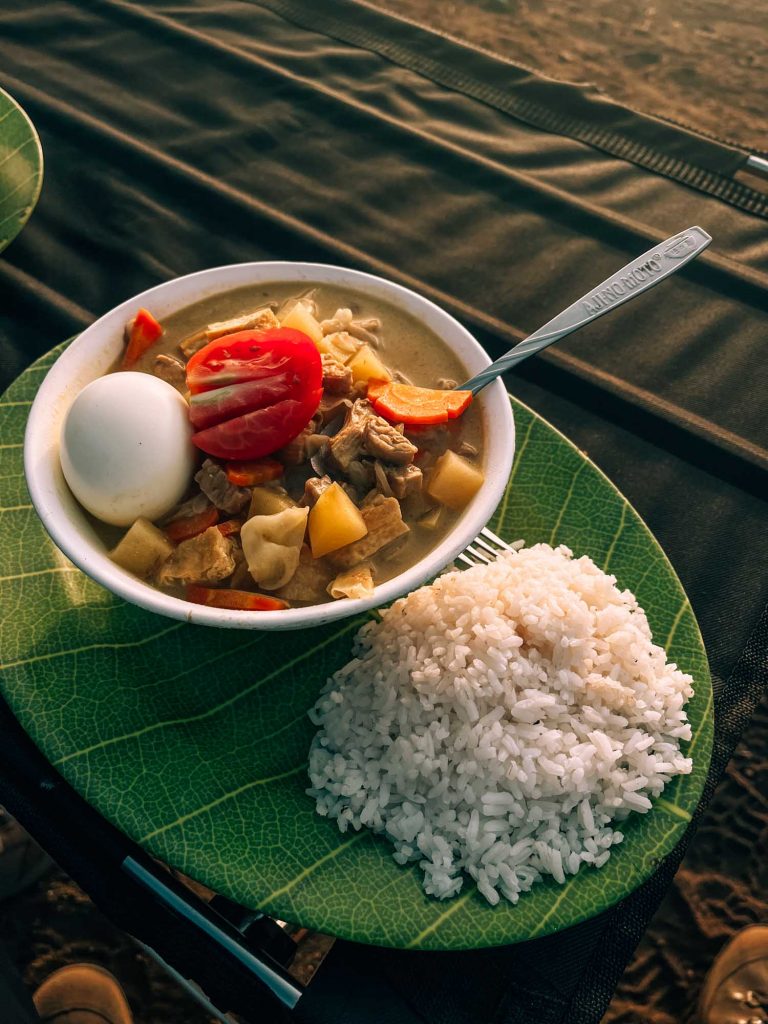
One of the things I was most scared of during this trip was the food. Would they understand my dietary needs? Or would I secretly be glutened along the way? Well, not only did they understand perfectly, which I did not expect after what happened on Gili T, the food was phenomenal! Expect nasi goreng, stir-fried vegetables, amazing curry and fresh fruit. Just be aware the diet already includes quite a lot of eggs, and as a gluten free traveler you will be eating them even more.
If you have severe coeliac’s disease however, I would recommend you to book a private tour and to kindly ask your traveling companion to eat gluten free on the trip as well. Wessel only had toast on the morning of the night hike, so they will not be missing out on anything. This way, you are safe when it comes to cross-contamination.
Quick Note! Lombok has great marine life too, but just be aware you should not go diving directly after the trek, because your body needs time to decompress.
What to Pack and What to Wear
The most important list in this Mount Rinjani Trekking Guide: what to pack? While you do not need to carry your own food, you do need to carry your personal belongings. So, make sure to bring a comfortable backpack and pack is lightly as possible. I have listed everything you should need below, including some things I wish I had brought.
- Transparent glasses. The sand whipping in my eyes was often too much, so if you want to protect yours, buy a couple of non-shaded plastic glasses to make it easier to climb during tough windstorms.
- A buff or scarf. Again, the sand gets everywhere. If you are dealing with extreme weather, this is a must to keep your nose and throat clean.
- Torch, preferably a headlamp. You will need this for your night-climb to the top and to find the bathroom at night. Trekking at night without a headlamp is dangerous, so if you do not have one, you can buy one in Sembalun or Senaru.
- Trekking poles. The sand, scree and gravel makes it easy to slip on the mountain. Trekking poles will offer you extra stability and gives your knees some respite on the 2000m descent.
- Hiking shoes and hiking socks. While you will see all of the porters and guides climb the Rinjani on flipflops, please do not do that yourself. Good hiking shoes will protect your feet and ankles and absorb the shock during the descent. Make sure they are not brand new to prevent blistering.
- Thermals and layers. The start of the trek tends to be hot, making shorts the perfect choice. However, as you ascent it cools down fast. Especially during the night climb to the top, the temperatures will be freezing. So, make sure you bring thermals, a pully, a down-jacket, long trekking pants, gloves and a hat too.
- Clean underwear and something to sleep in. The first one I should not have to explain, and for the second one: I slept in my thermals and down jacket because I was freezing, so make sure you have something warm to wear at night.
- Toiletries. Keep it simple here: deodorant, a toothbrush and sustainable toothpaste will do the trick. If you want to get really fancy, then bring some facewipes to clean the dirt off your face and hands and leave your beauty routine with the rest of your belongings. However, if you use facewipes, make sure to take the trash back down with you.
- Camera. If you love photography like I do, then don’t forget your camera! Just make sure to bring enough batteries or bring a powerbank as there is no power at the top.
- Optional: e-reader or book. If you are a quick climber, you will have some time to kill at camp. I brought my e-reader, but you could bring a pack of cards as well if your prefer to socialize!
Mount Rinjani Trekking Guide: The 2D1N Hike
Once you have done the necessary preparations, you will want to start your trek. I have summarized what our trek looked like below, so you can get an idea of what will await you. Just note that we did the 2D1N trek, and that a 3-day trek will therefore look different to this one. However, the first day will look the same, as everyone will visit the crater rim first.
Day 1: To the Crater Rim
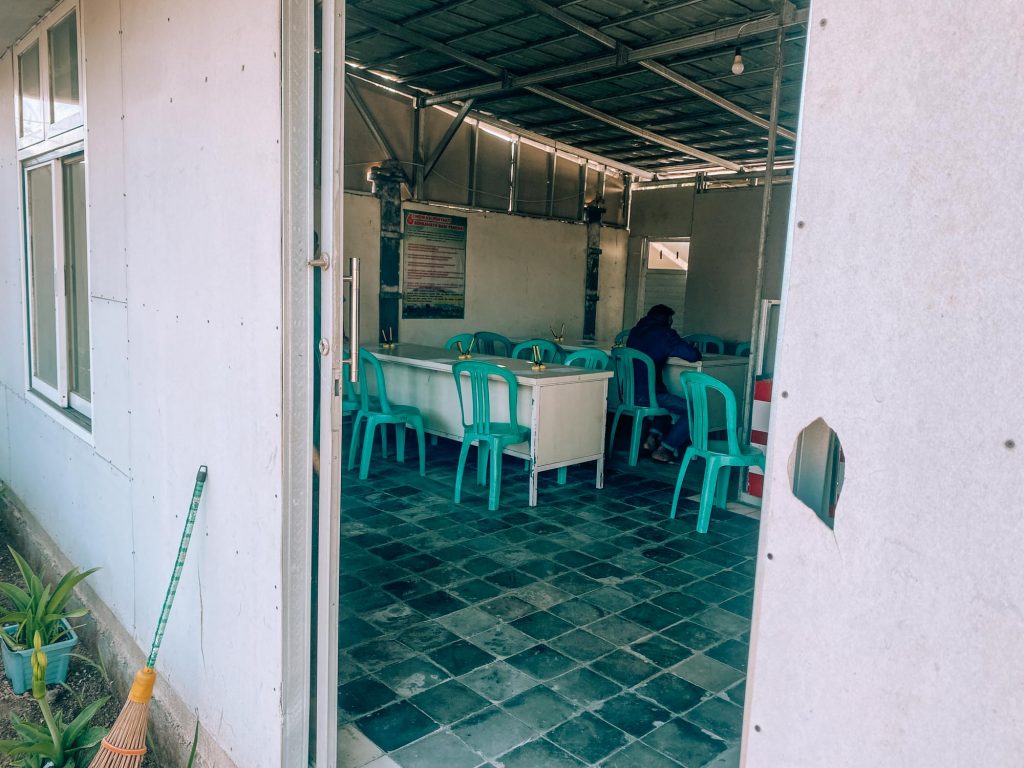
Because Wessel and I stayed very close to the start of the trek, we could sleep in until 6:30, as we were picked up from our Bobocabin at 7:30 by our guide and crew. Before we were allowed on the mountain however, we needed to do a quick medical check where they checked our blood pressure. The doctors signed a form which we then had to take to the registration office, where our guide paid the park fees.
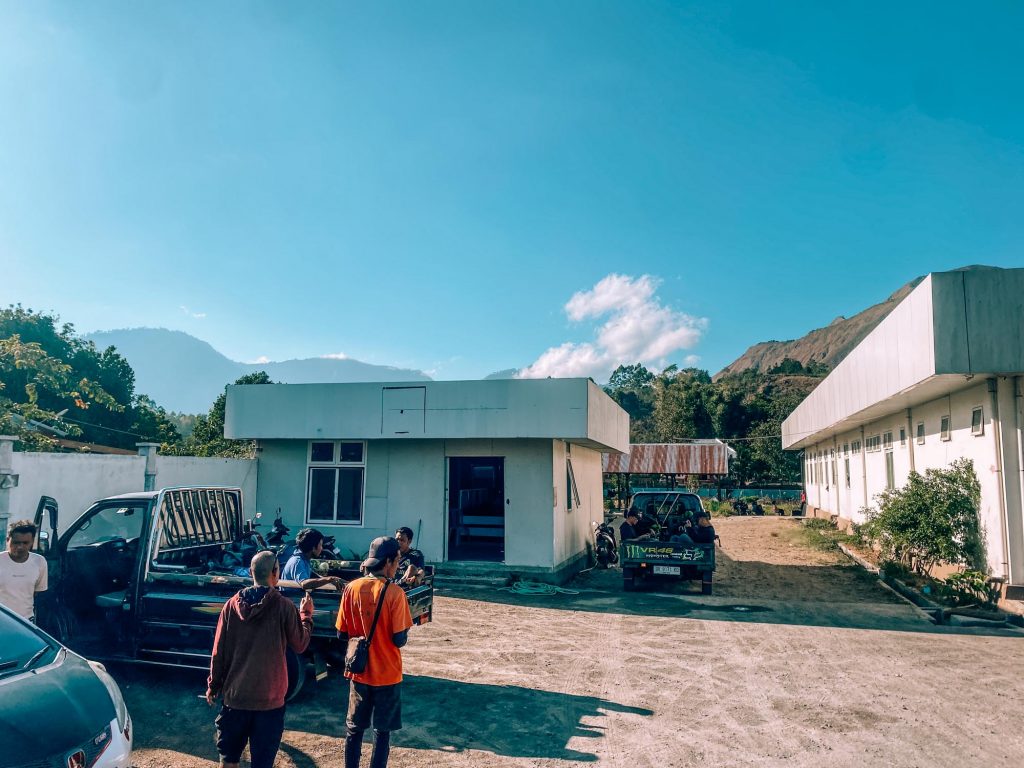
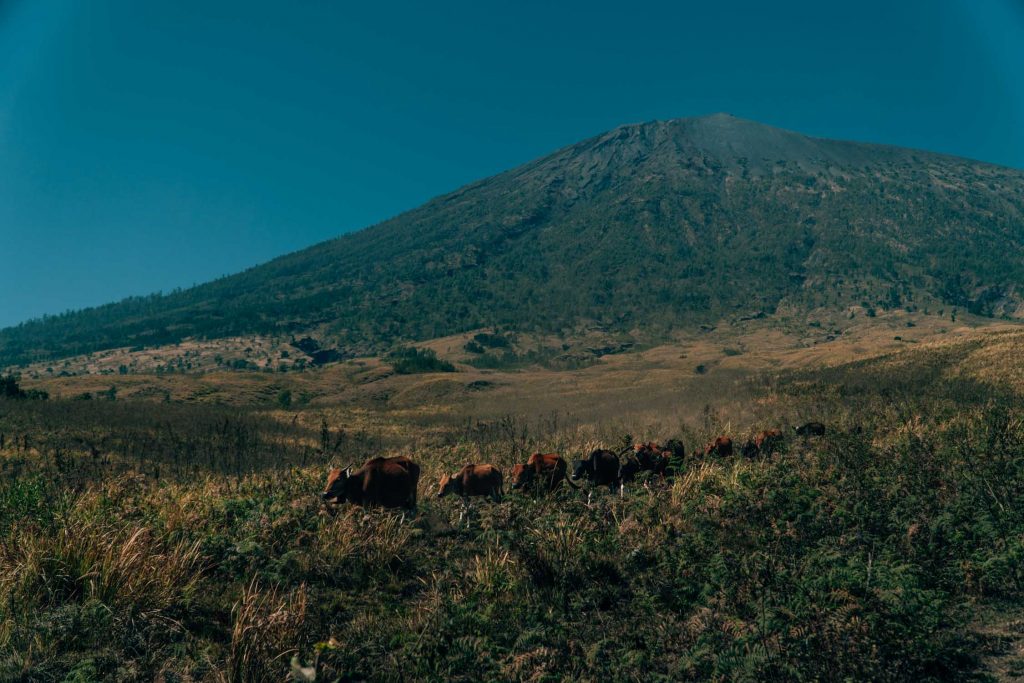
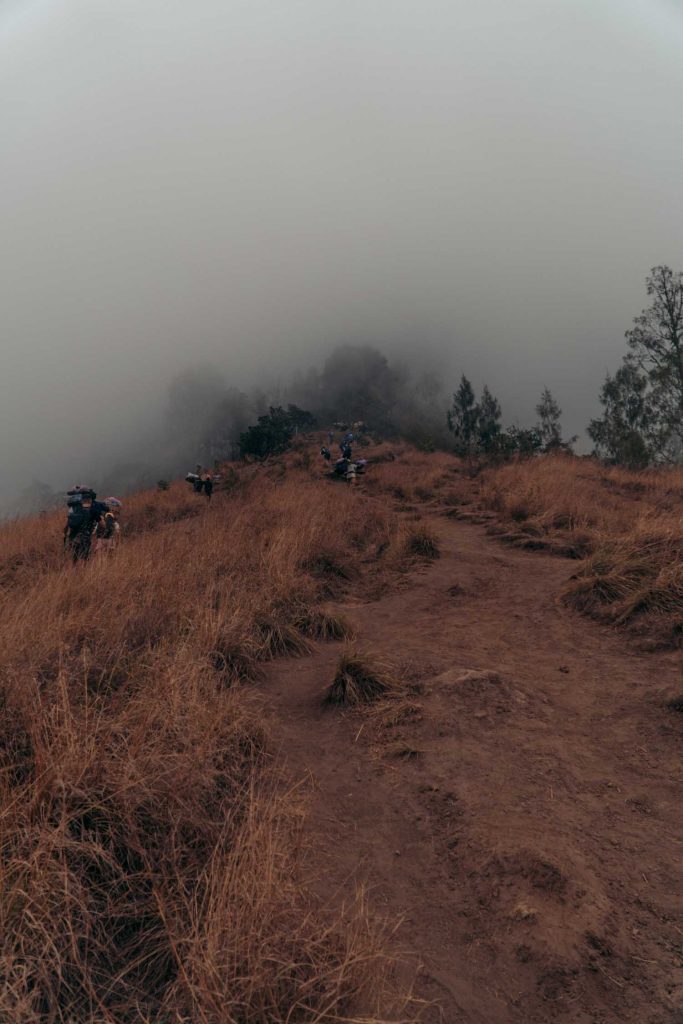
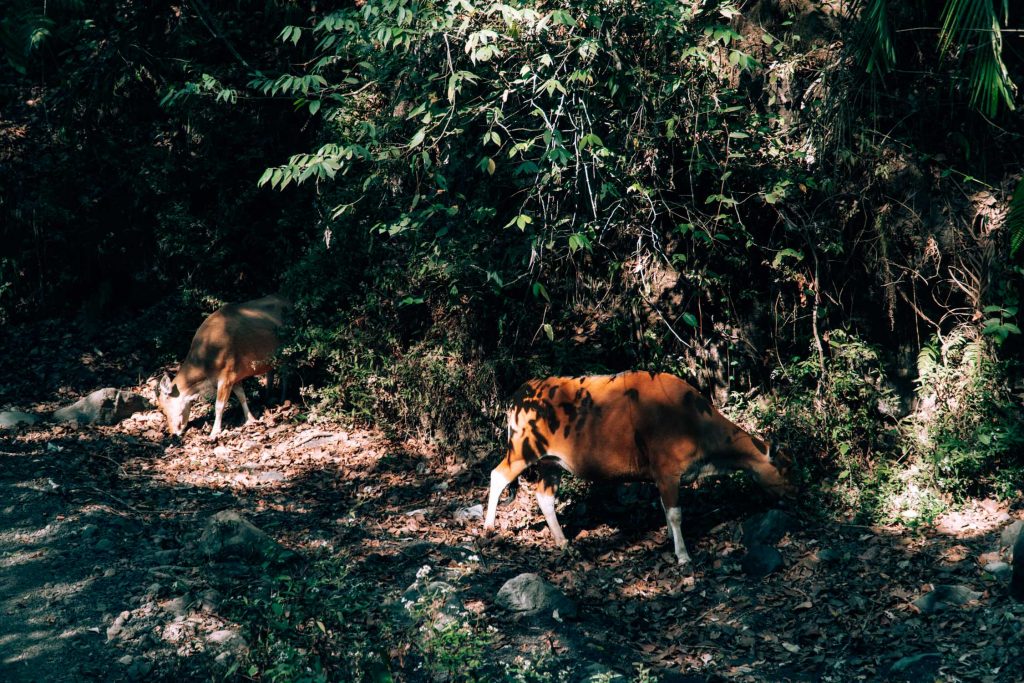
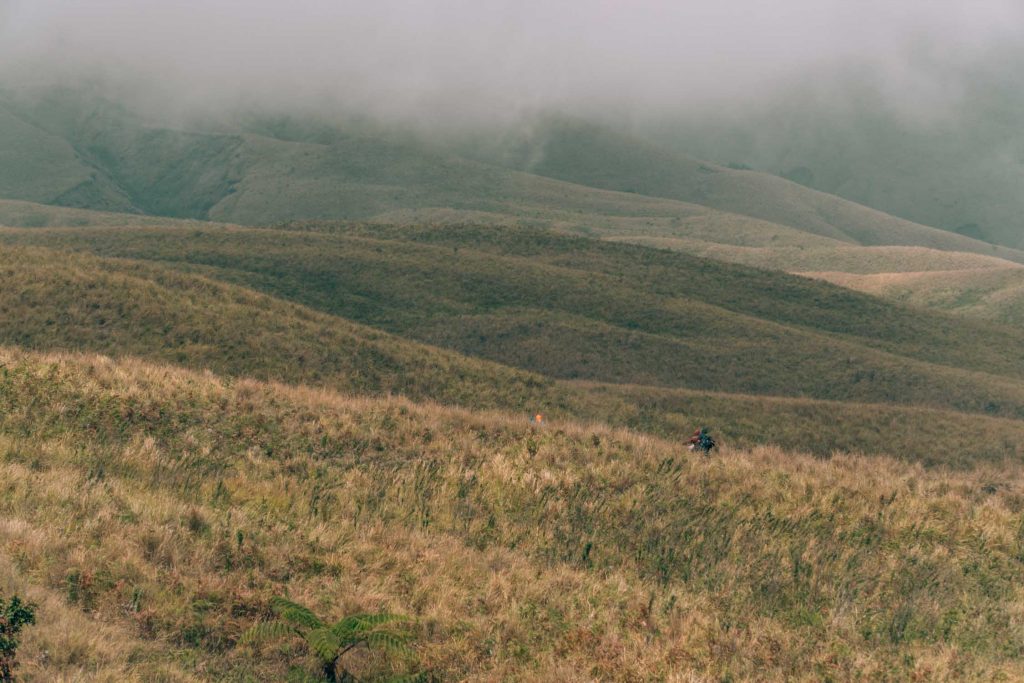
By 9:00 we were up and running! We dropped off our travel bags with our touring company and started the hike at 1051 meters at the entrance to the park. During the trek, we would be stopping at four different spots called ‘Pos’. The first part of the trek took us to Pos 1 through a small forest filled with cows, until we reached the sandy hills at the foot of the volcano. After about an hour we reached Pos 1 (1300m), where we stopped for a quick water.
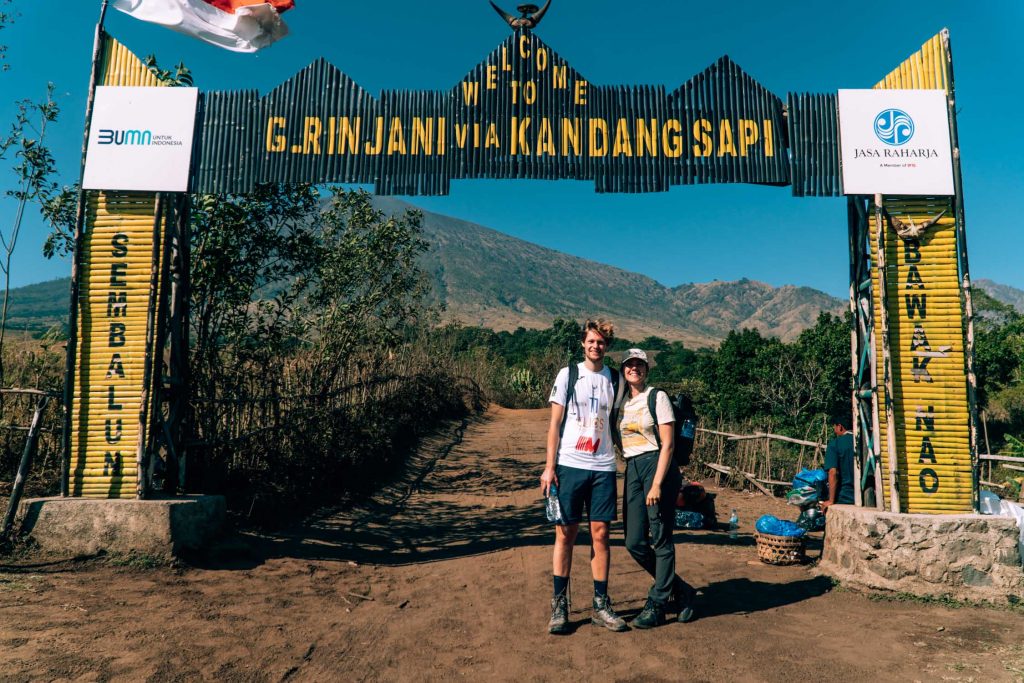
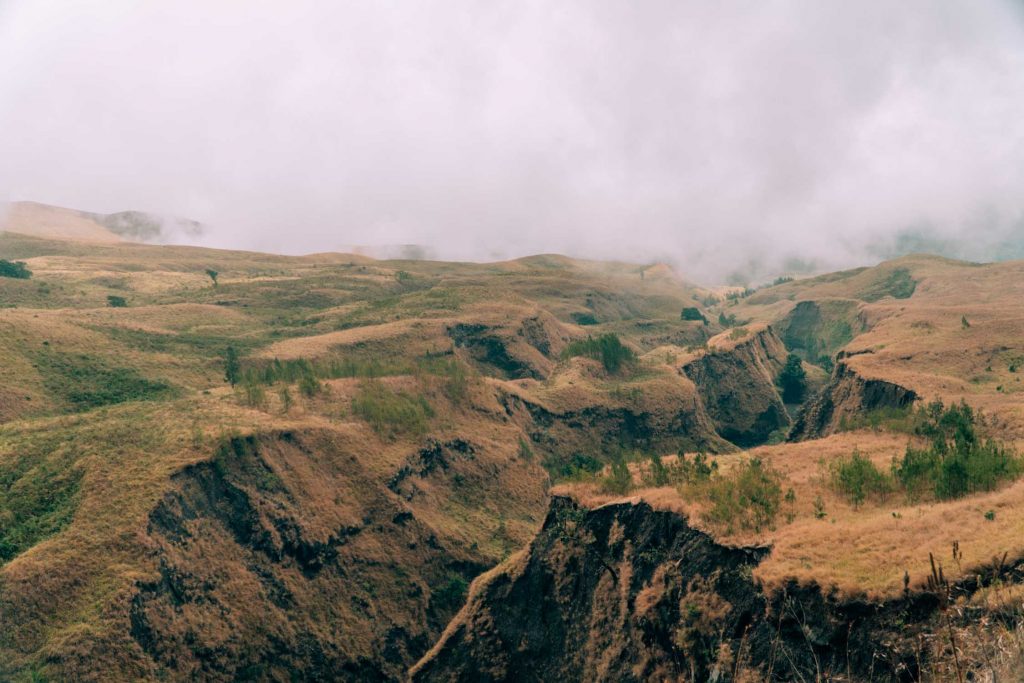
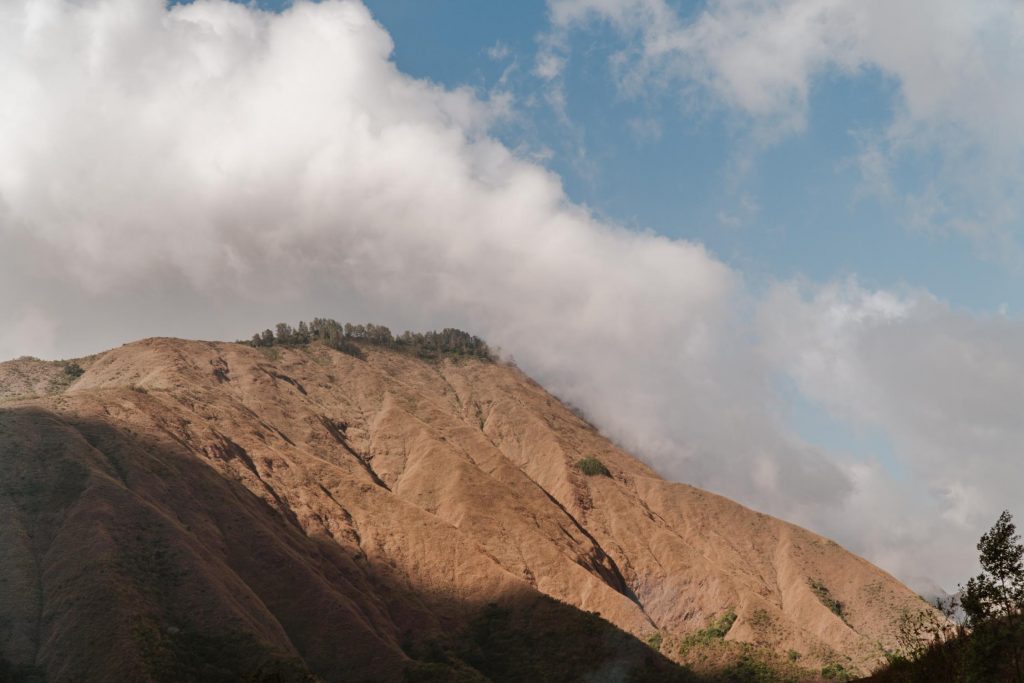
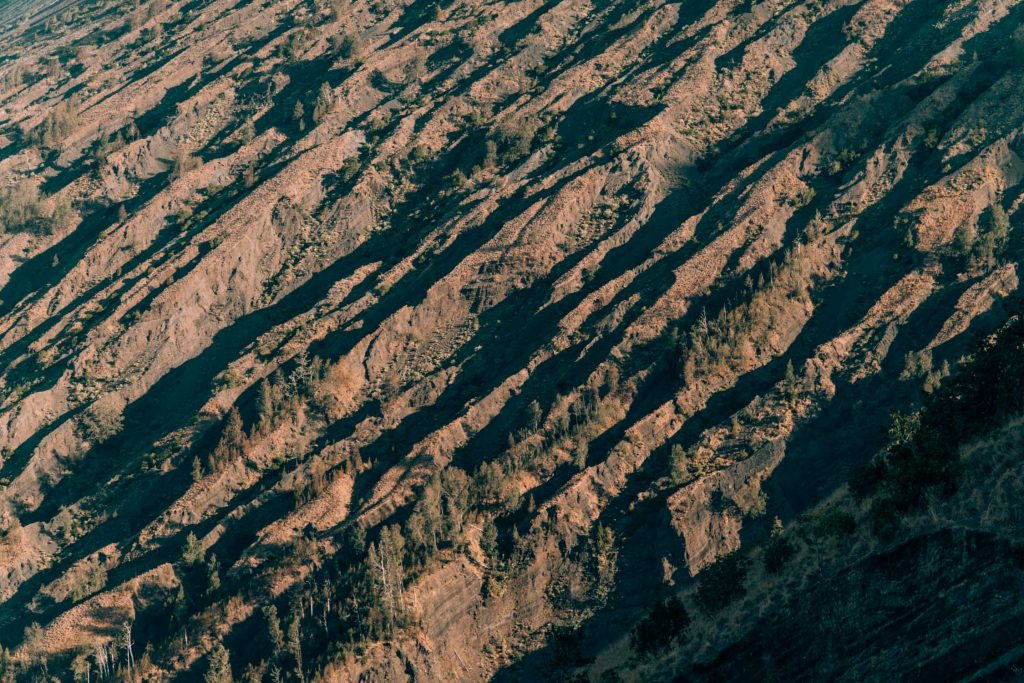
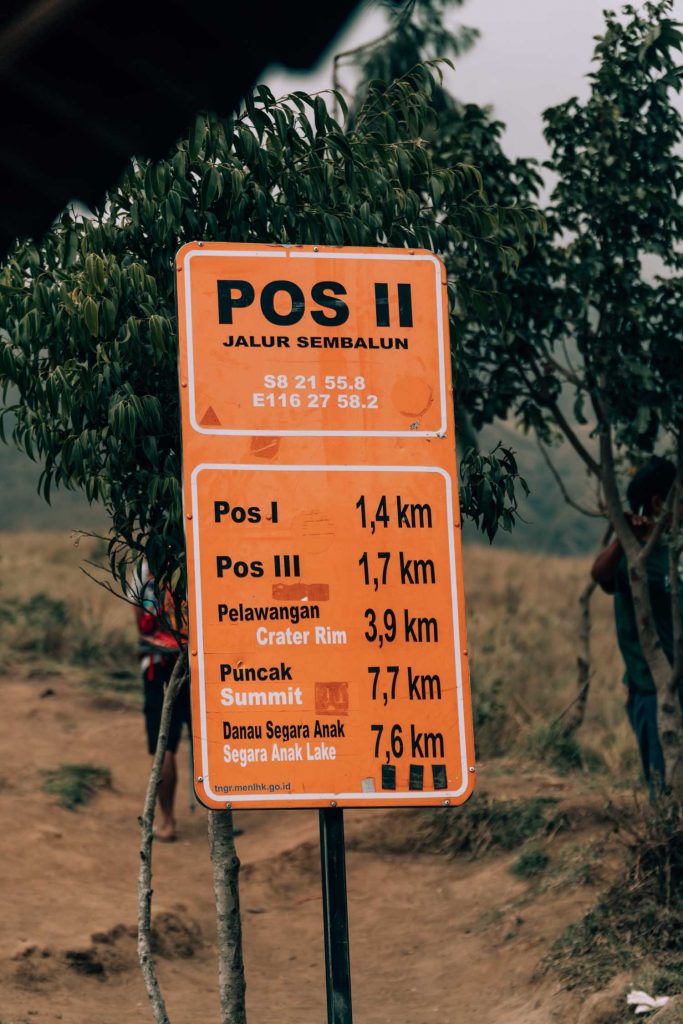
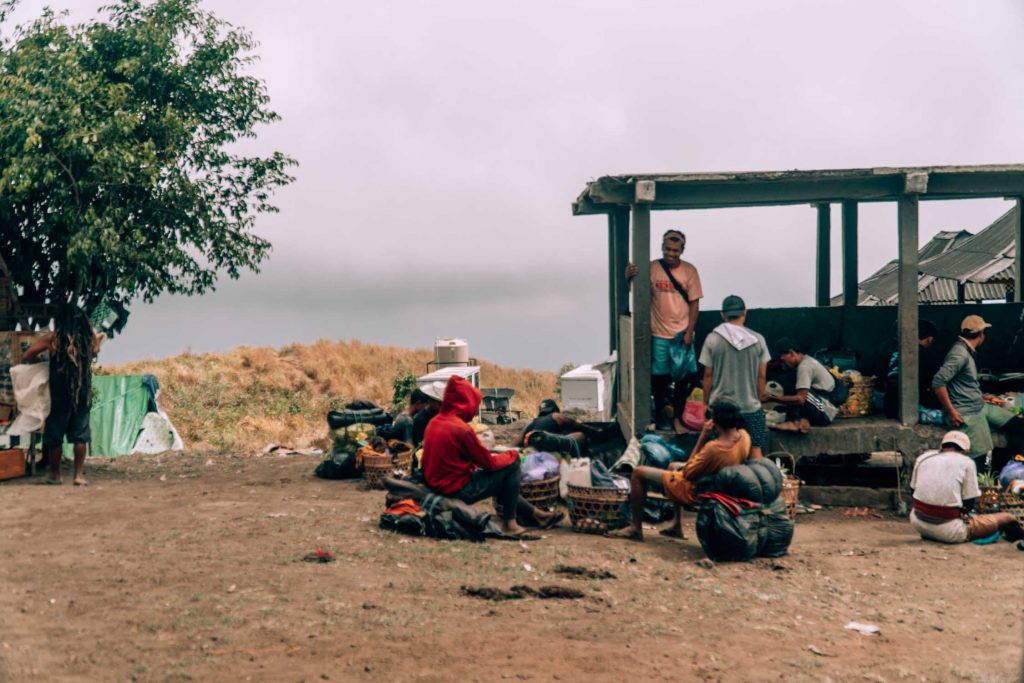
Where the climb to Pos 1 was quite easy due to the steady but slow incline, the path to Pos 2 (1500m) was a lot steeper, especially at the end. While it was only 1.4 kilometers, it took us an hour to reach our lunch spot. The terrain also became more dramatic as we hiked onwards, with ravines carved by lava dominating the landscape. Once we entered Pos 2, we were met by views of cozy shelters, locals selling their goods, a guy blasting Guns ‘n Roses and all of the other trekking companies cooking over their fires.
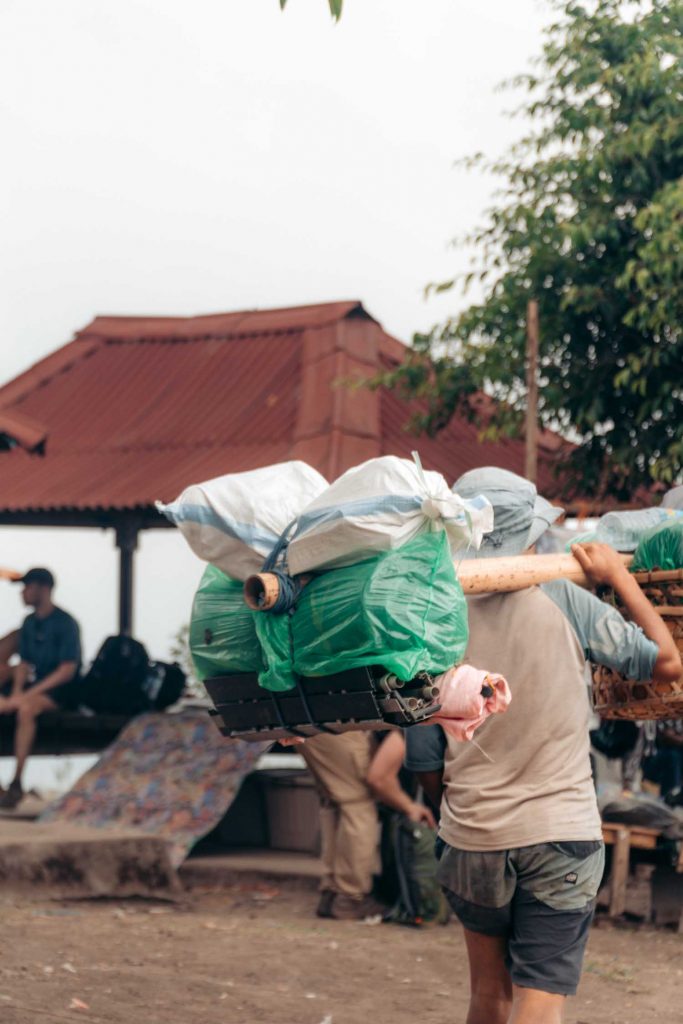
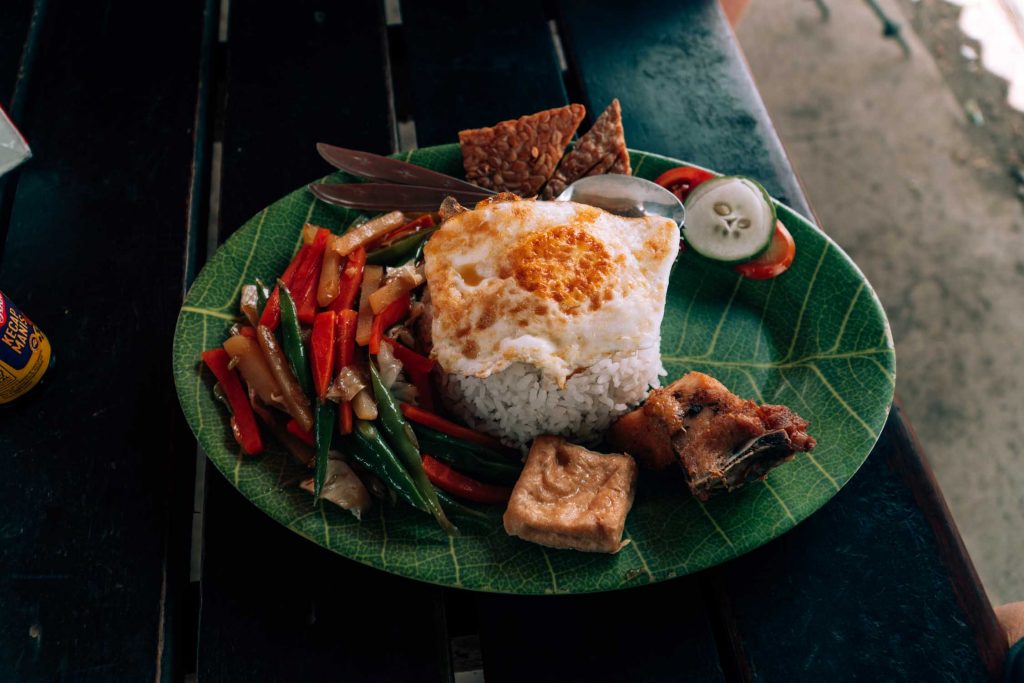
Here, our crew prepared a lunch for us. And no, this was not just a quick lunch: an entire feast was laid out before us. With Nasi Goreng, green beans, eggs, tofu, tempeh and an entire fruit platter, we felt incredibly spoiled. You will not go hungry on the Mount Rinjani Trek!
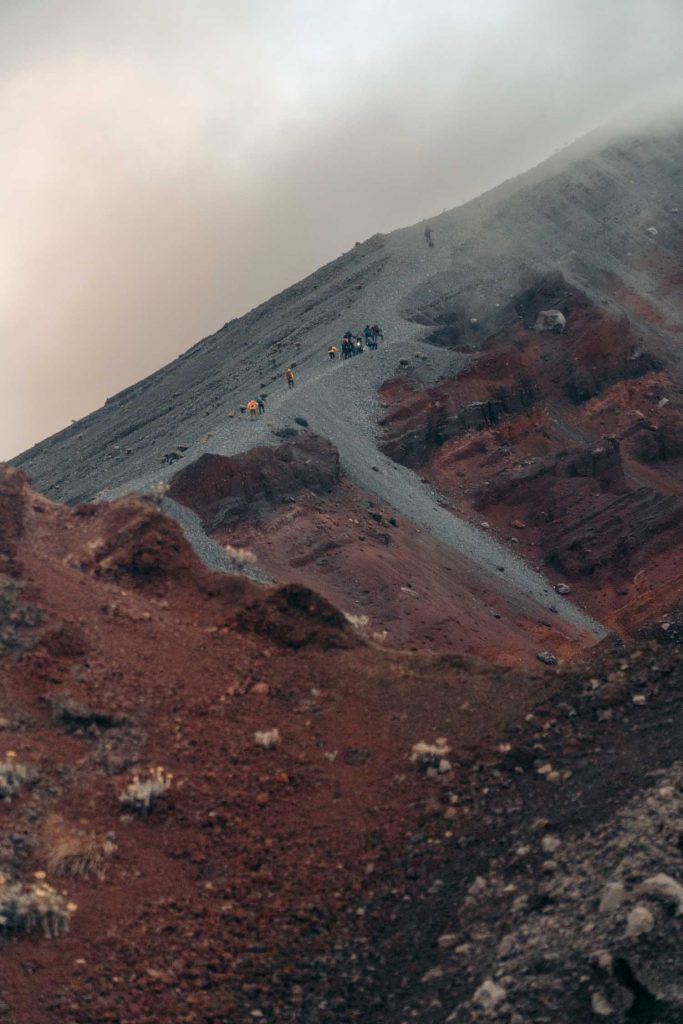
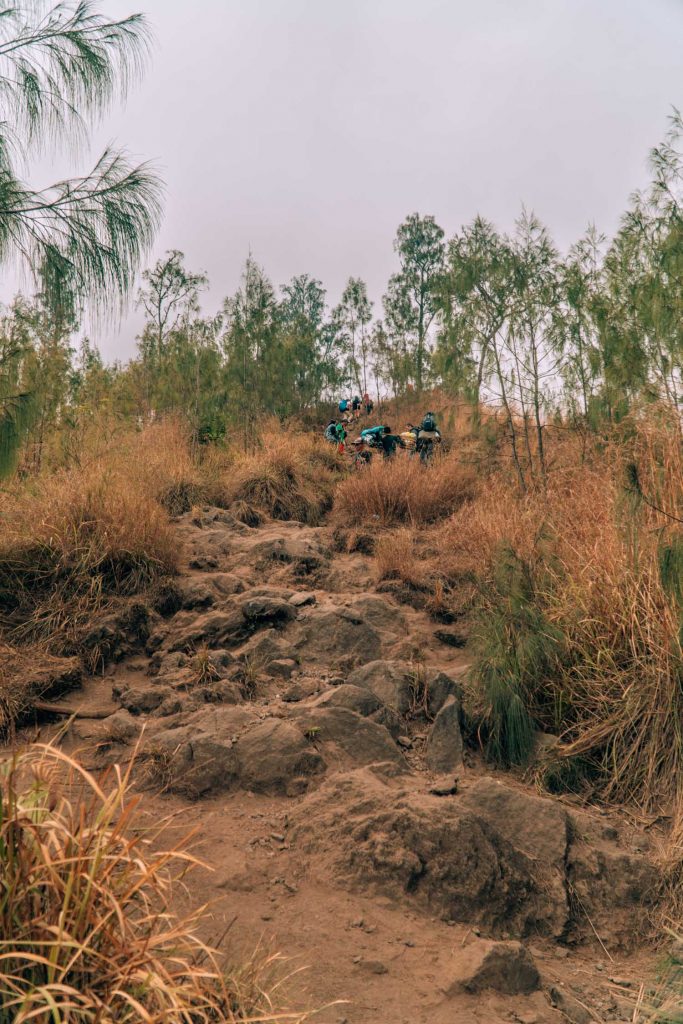
After lunch, it was time for the final 1100-meter climb. Everything up until now had been peanuts. Slowly, the path got steeper and sandier. For every two steps upwards, we slid one back down. This meant we had to pace ourselves and choose one steady tempo. I was also super happy I had brought my trekking poles: they were a lifesaver! Still, there were some rocky parts in between, which made it a little bit easier than the final climb of the day.
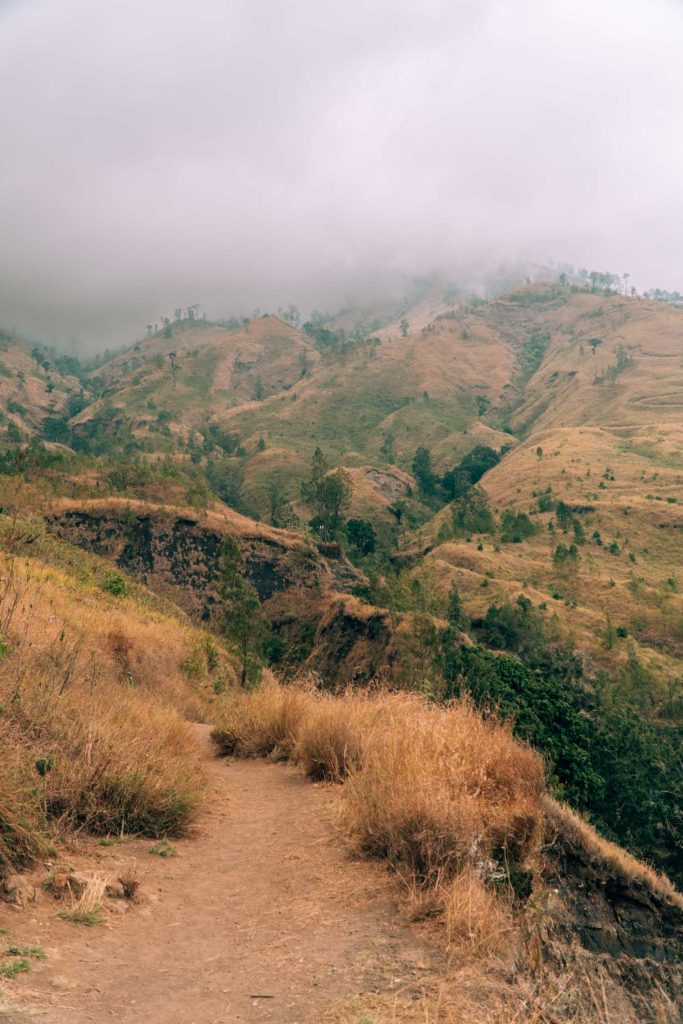
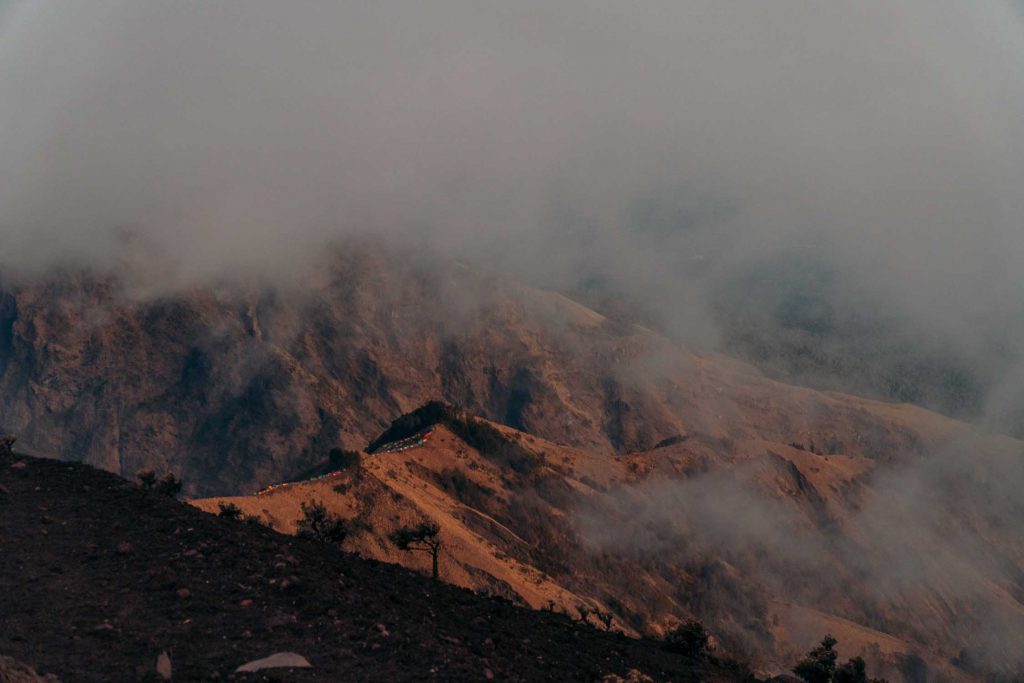
As we reached Pos 3 at 1800 meters, it got misty, making the mountain look increasingly mysterious. We were still content from our lunch, so we decided to keep walking up to Pos 4 at 2085 meters. Here, Nas told us the last part of the climb was going to be the toughest, and it would be best if we followed his footsteps.
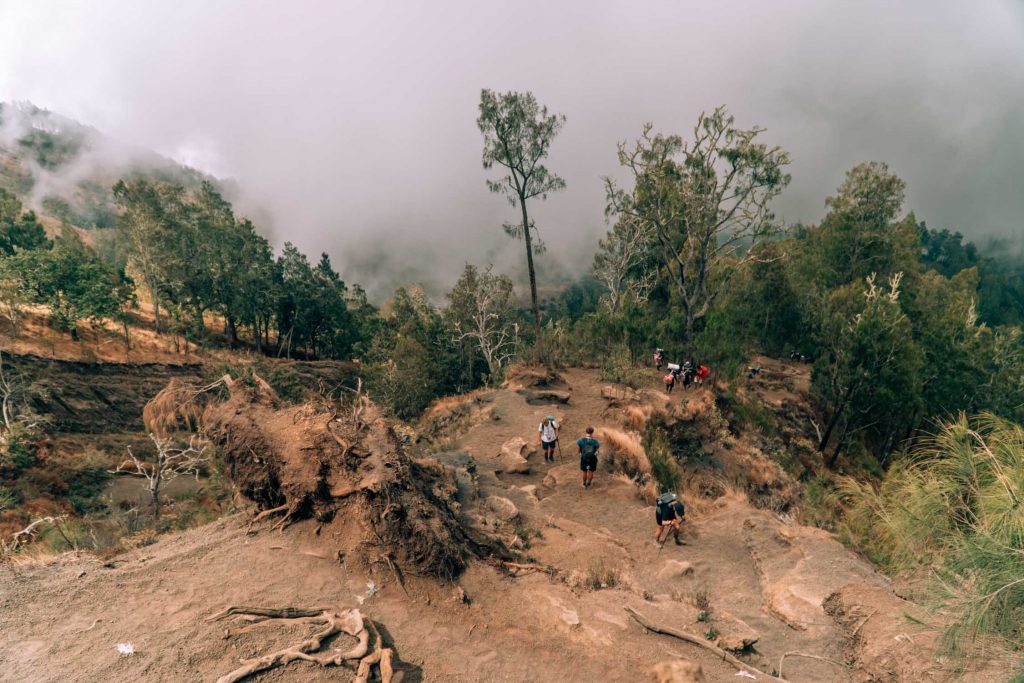
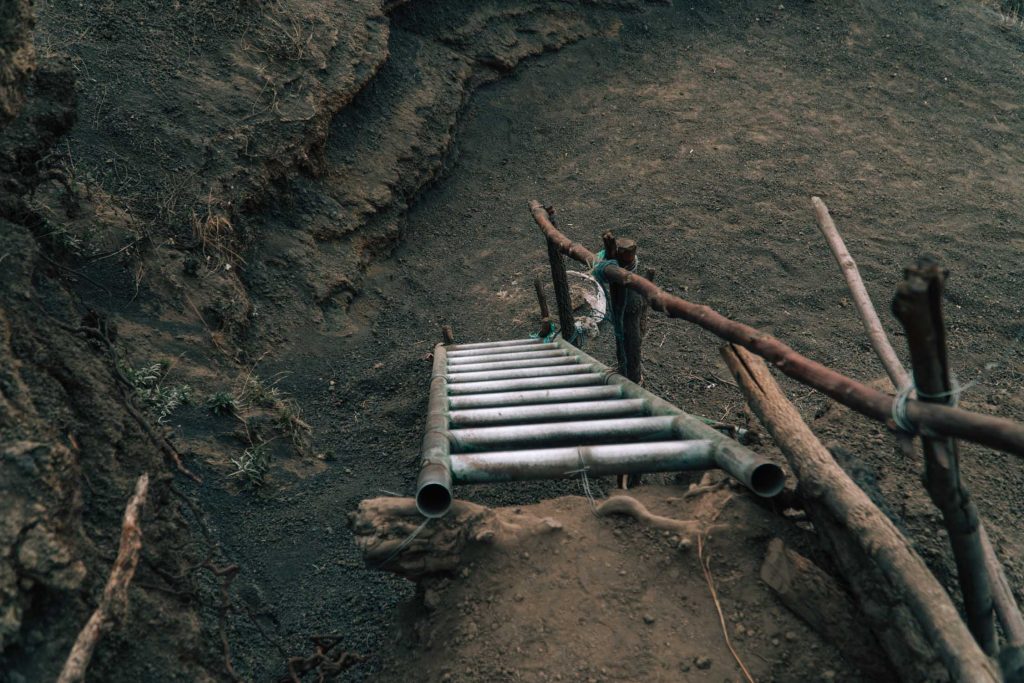
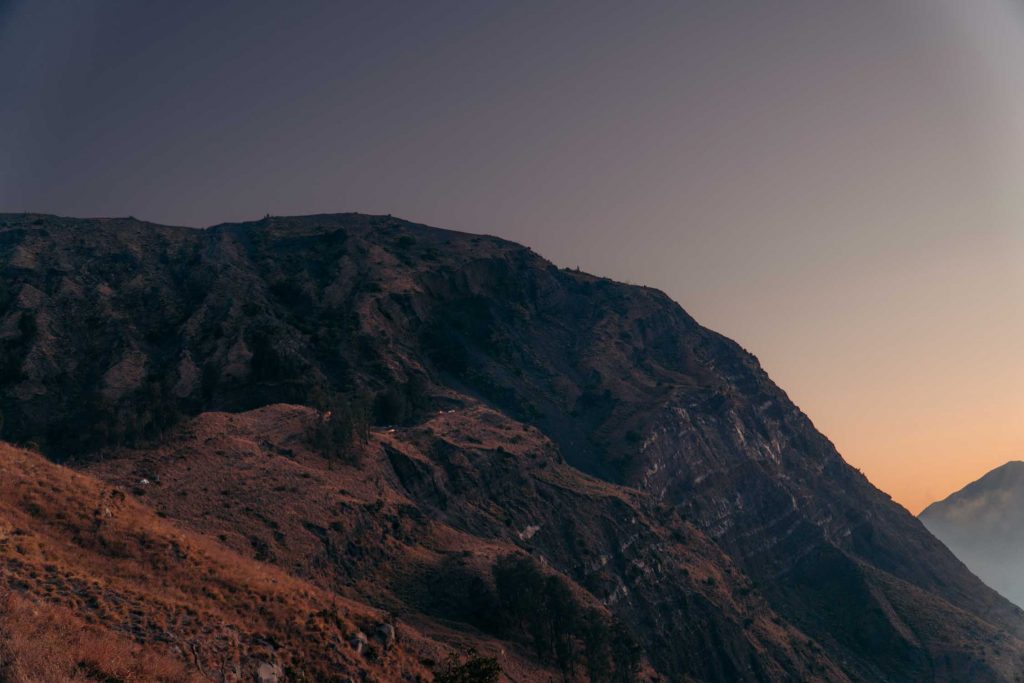
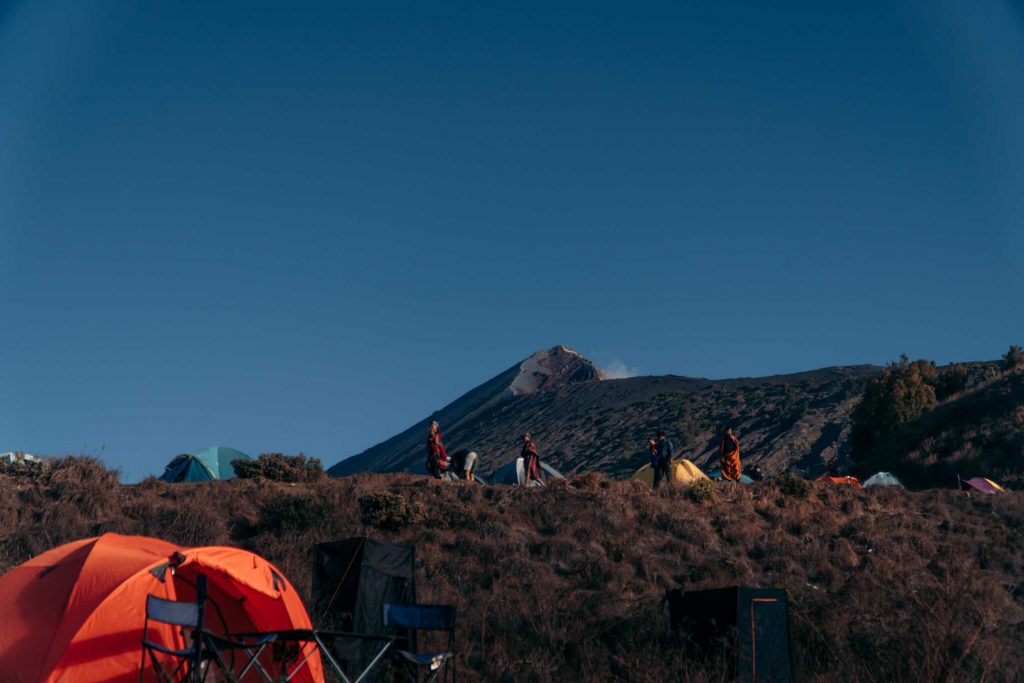
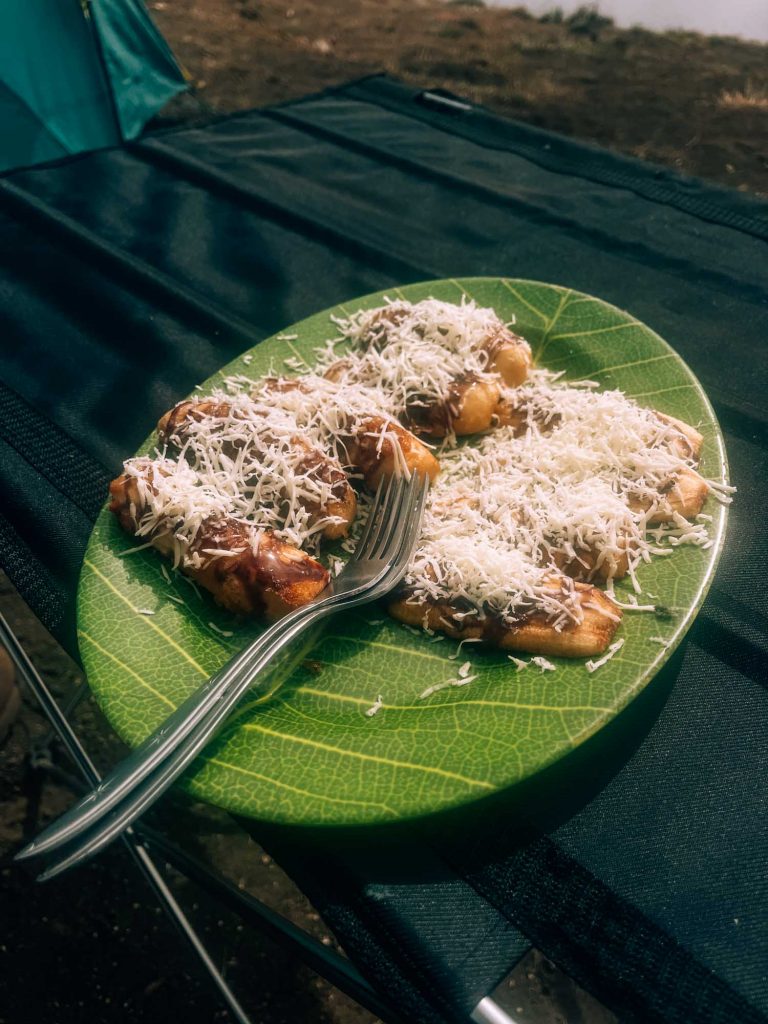
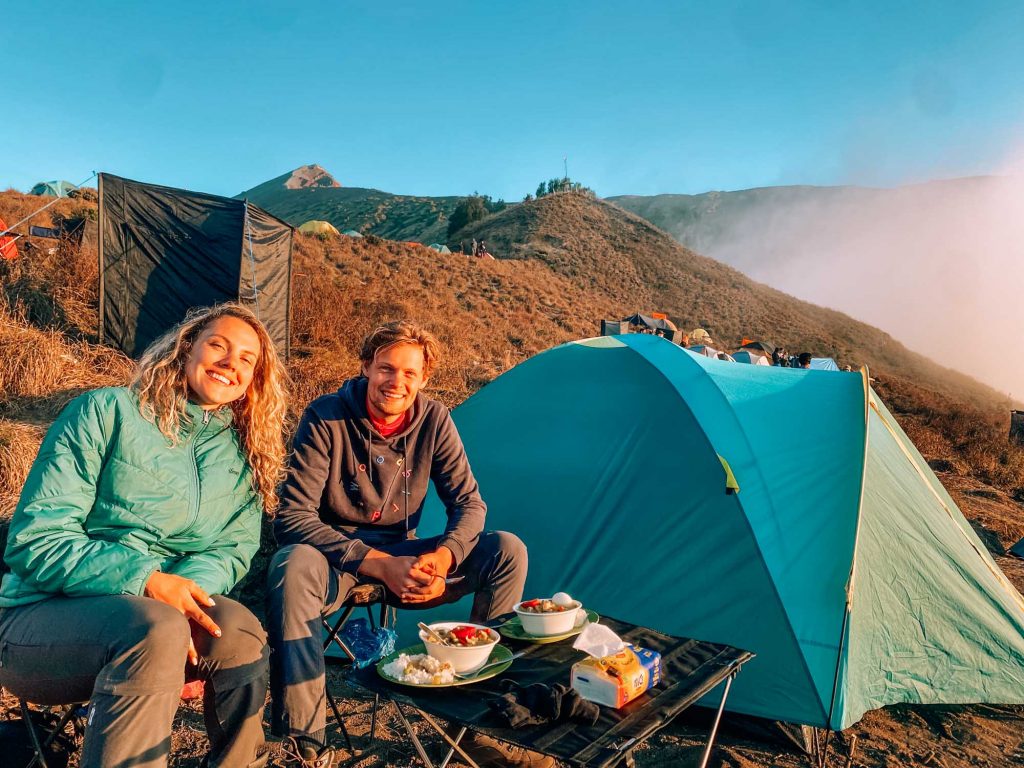
Somewhere during that last climb, we hiked through some trees, which’ roots provided better footing for a while. Still, most of the climb was incredibly sandy, and we were relieved when we reached the crater rim camp at 2639 meters around 4PM. Here, our crew had already set up camp – these guys are fast on their flipflops – and prepared pisang goreng (banana fritters) and some coffee for us as a snack.
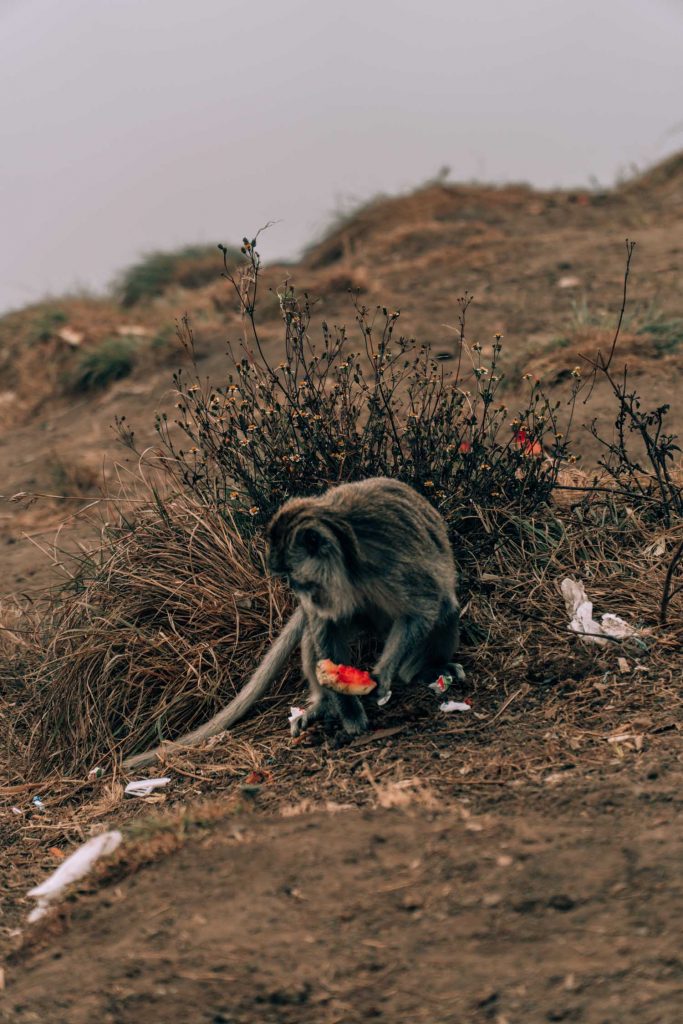
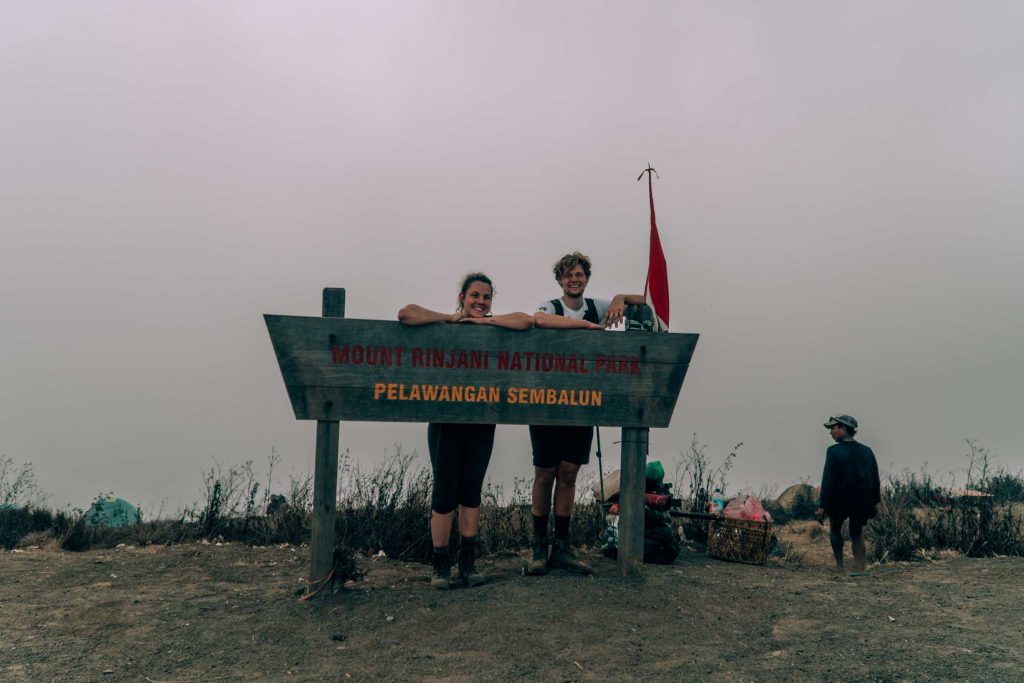
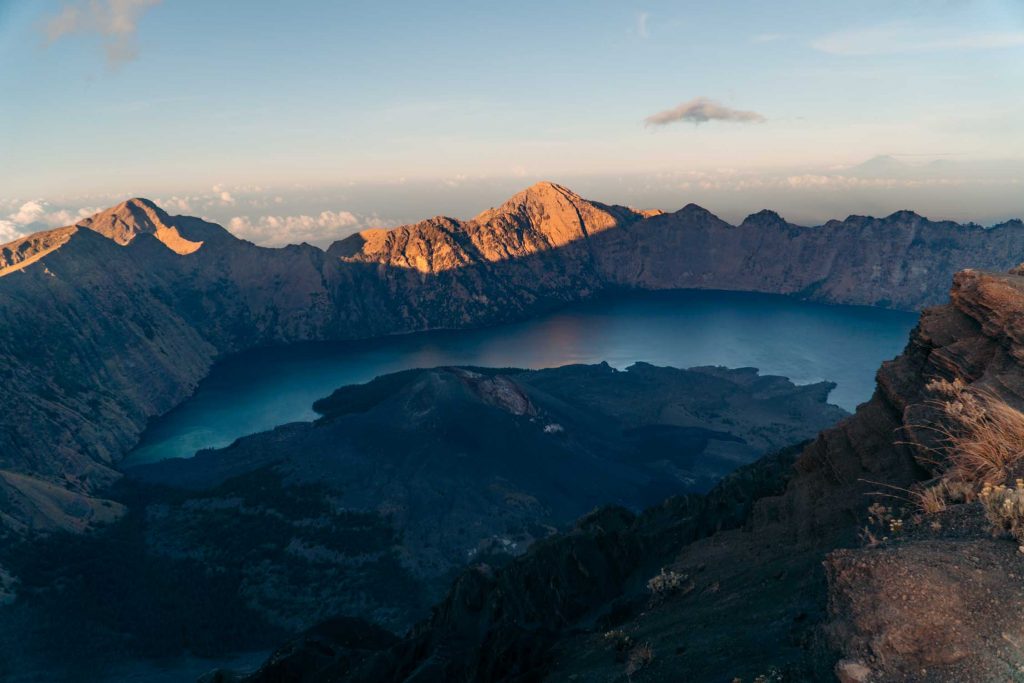
We sat in our camping chairs for the rest of the afternoon, watching the monkeys scavenge the mountain for food and other hikers getting too close to them while taking their pictures. Which was all there was to see, as the mountain was completely covered in a thick layer of clouds. However, as our dinner (delicious vegetable curry) got served, they lifted revealing the most breathtaking view of the Segara Anak crater lake. The sunset was phenomenal, as was our food.
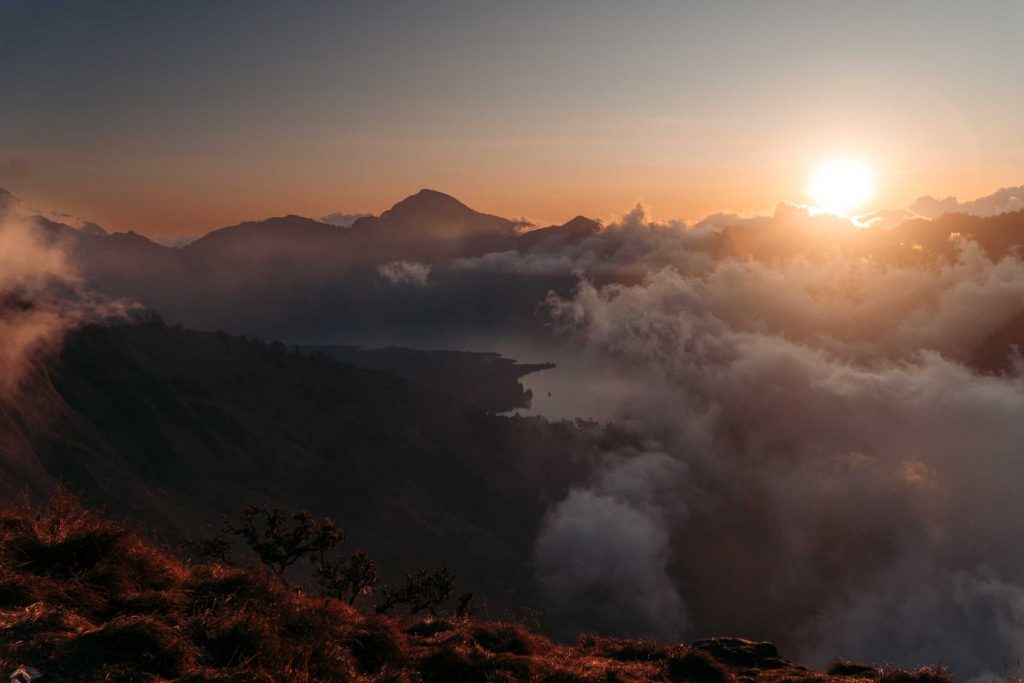
Nas told us that we would be leaving for the summit at 2AM at night, so after some stargazing and chatting with other hikers, we hit the sack around 8PM. We read in our tent for a bit, until our eyelids fluttered shut, dreaming of the views we would get to see the next day.
Day 2: To the Summit and Back
On day 2, we woke up at 1:30 AM. After a light breakfast, we started our climb to the top of the Rinjani, which lies at 3726 meters. We left our belongings with our porters, so we only had to carry ourselves and my camera. With our headlamps on, we took the path to the start of the first climb. In the distance, we could already see the lights of the first people on the mountain.
This together with the final climb, would be the most difficult one according to Nas. He was not wrong. The terrain was similar to the final part of our climb the previous day – sandy, slippery and steep. However, once we reached the ridge that would take us to the final climb, we had little time to stop, as we were met with the strongest wind I have ever experienced.
Wessel and I are from the Netherlands where strong winds are a common occurrence, but these winds were what we call ‘code orange’ winds. These mean you are strongly discouraged from leaving your house, due to the danger of falling trees, rooftiles and branches. The winds we encountered on the ridge were often strong enough to make us stumble and Nas told us this climb would be very dangerous. The path would get narrower as we hiked on, so it was important to stay in the middle.
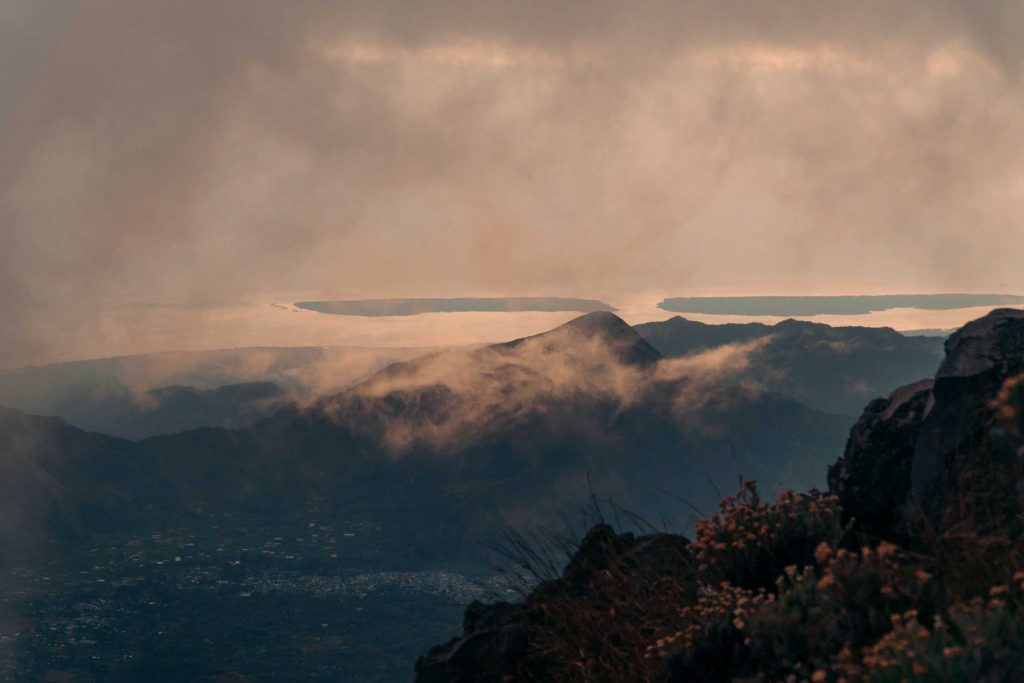
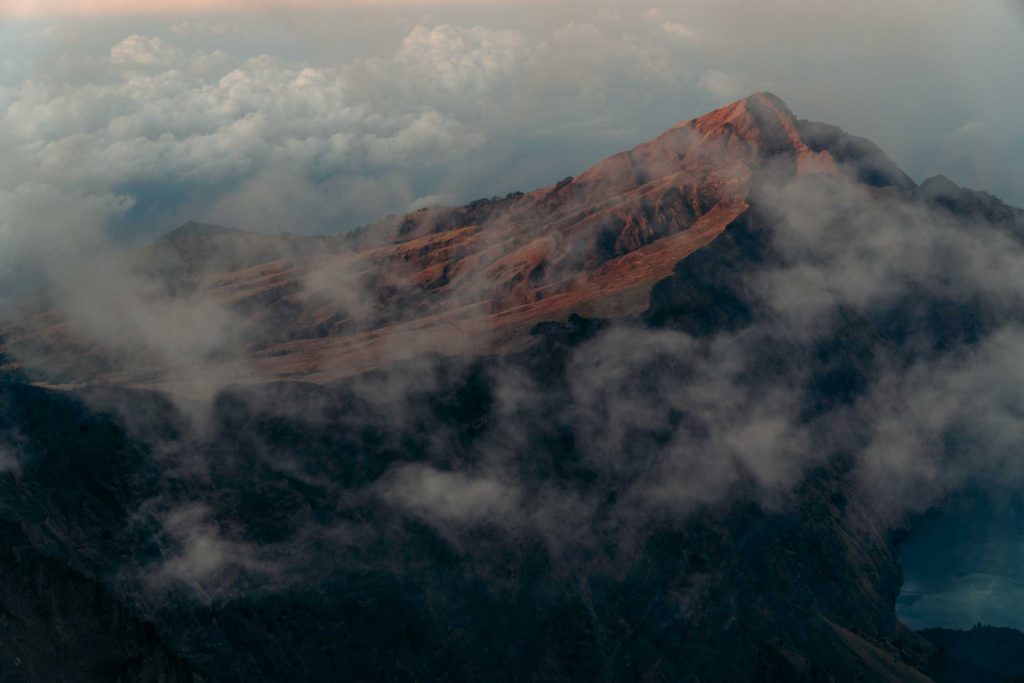
We continued, however, taking shelter whenever we could. Pretty quickly we got the impression Nas was doubting we should attempt the final climb, as the winds increased in strength and speed the further we climbed. I was beginning to question our safety as well. As much as I wanted to reach the peak, stories of people who had died on the mountain haunted my every step.
Once we reached the final rest stop where we could find some shelter, Nas told us to take a break and wait. Here we asked him whether he thought we should continue. Initially he said we could if we wanted to, but kept stressing it would be dangerous and very difficult. After we asked the same question again, he told us it would be better not to attempt it. These conditions were extreme, even for him.
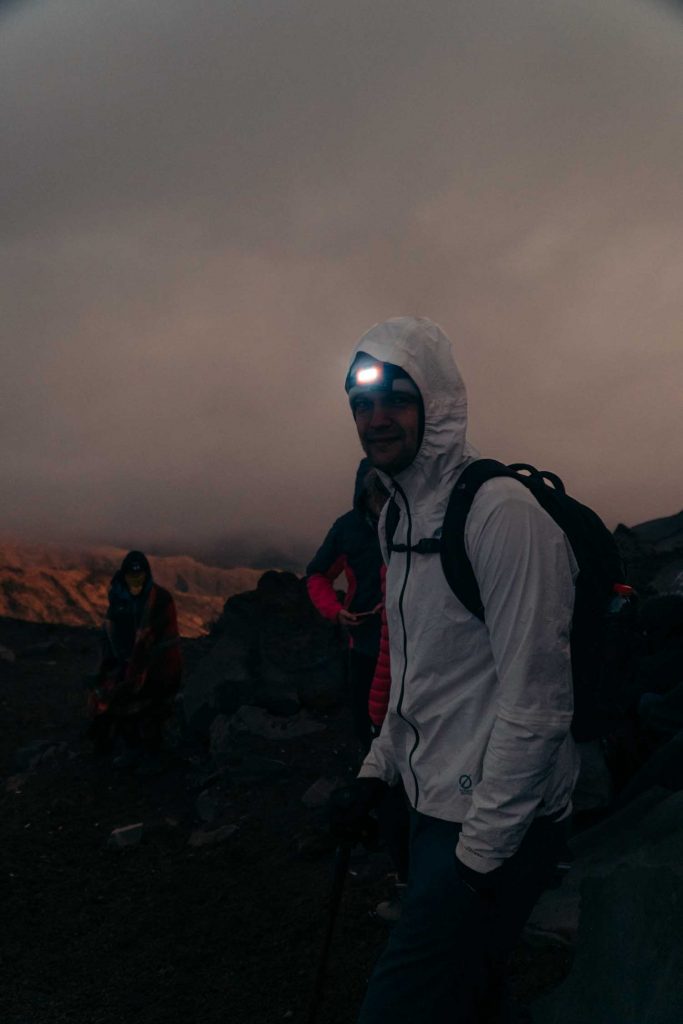
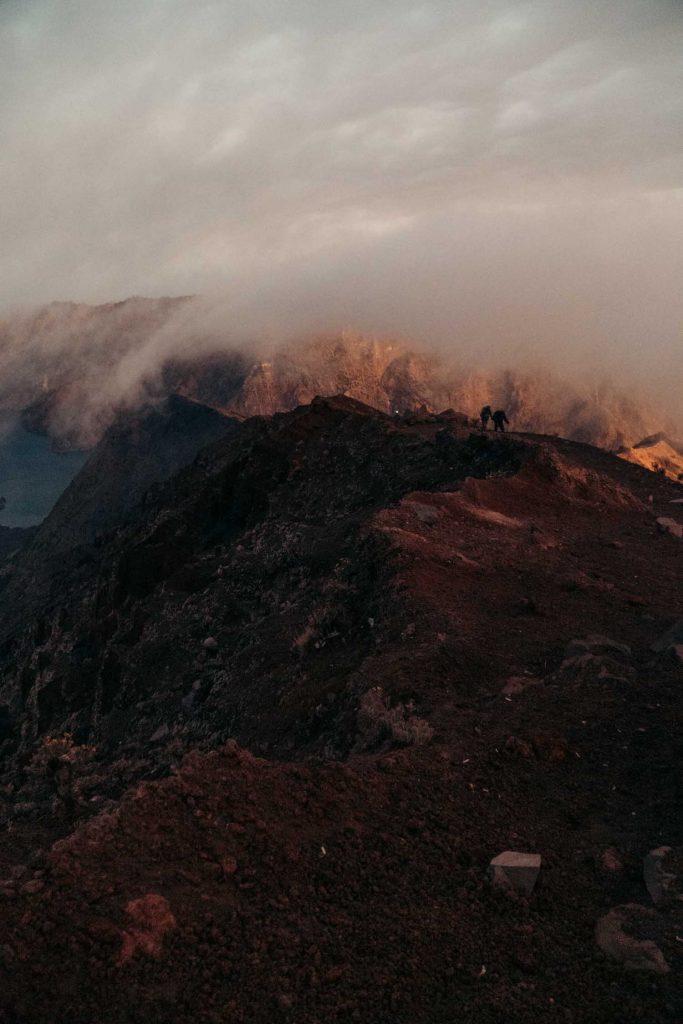
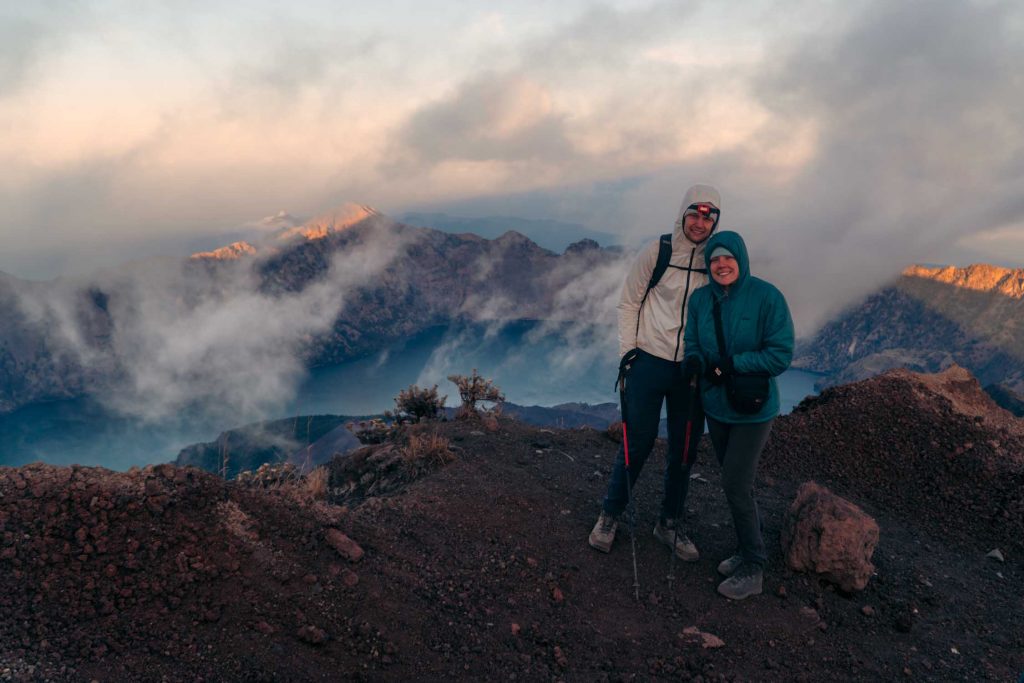
So, we waited under a sleeping bag Nas brought, shivering in the freezing temperatures. We watched several people attempt the summit and turn back. One woman even told us her guide had grabbed her hand, because he was frightened too, and that she saw multiple people get knocked over by the wind. We were very happy we stayed put.
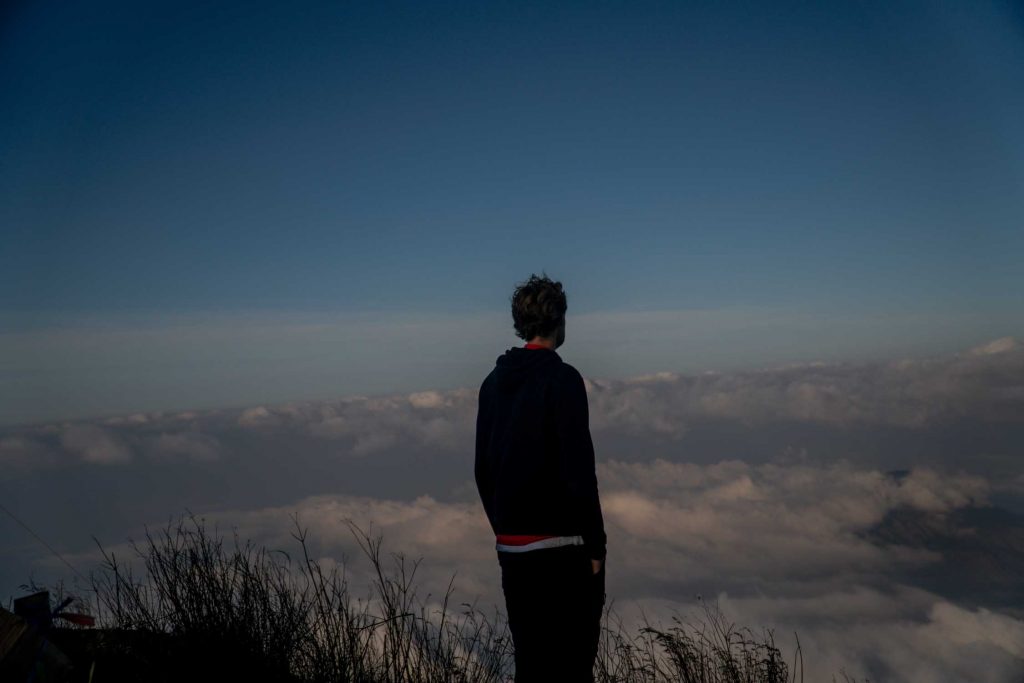
Then, finally, the sun came up and we saw the peak… completely covered in swirling clouds. Even if we had made it, we would not have seen a thing! Plus, the view was incredible from our vantage point, with Sumbawa to one and Bali to the other side. But the most impressive thing to observe, were the thins strips of cloud, which were whirling all around us.
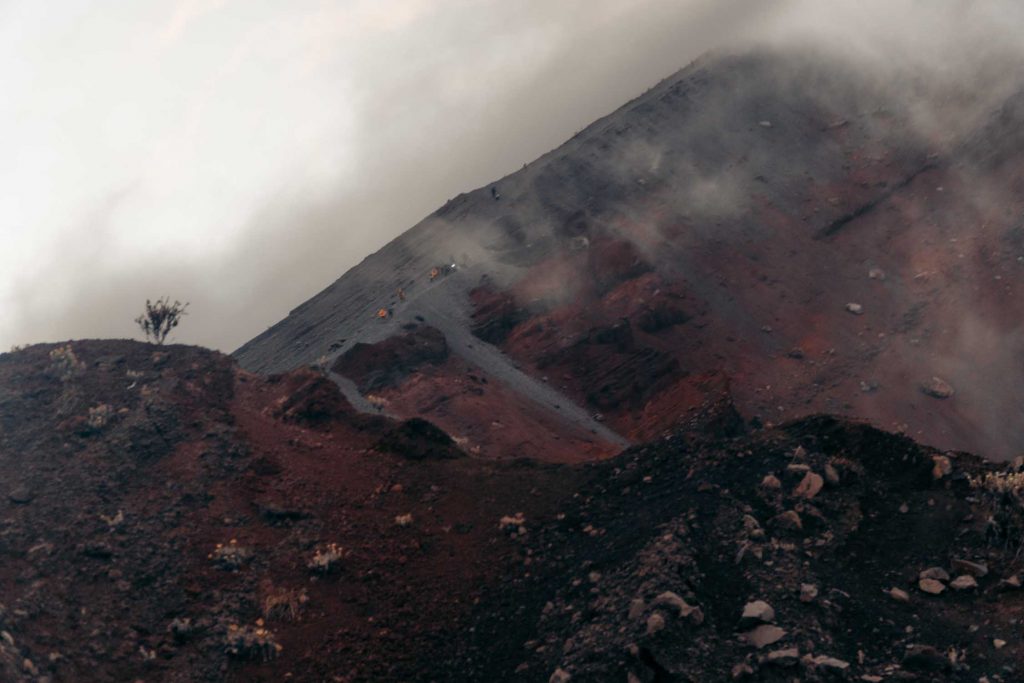
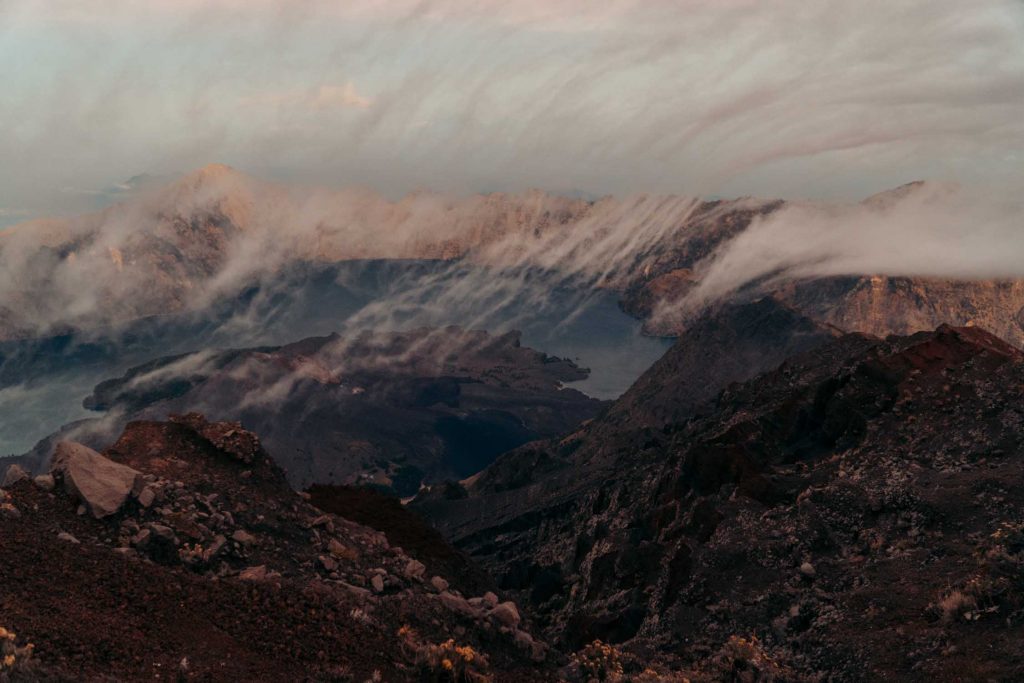
After some pictures, we decided we had suffered enough and hiked back. This was much easier, as we just let the sand carry us down. Every step down was now multiplied by three! In no-time, we reached the camp, where we enjoyed a second breakfast and the warmth of the sun.
While we were already pretty tired from our night climb, we still had the rest of the descent in front of us. This is the part where you will be extremely happy you have taken my advice on taking comfortable hiking boots and trekking poles: descending 2500 meters is no joke! Soon, my knees and big toenails started killing me, while Wessel suffered myriad blisters. Imagine what would have happened if we had not worn our good shoes.
We had lunch in the shade of the forest we crossed at the start of our trek, which is where Nas told us someone had slipped down the mountain during the summit. Any doubt about whether we had made the right decision went out of the window. Although this person had survived, they slid down a couple of hundred meters and had the scare of their lives! I counted my blessings that we had survived the climb.
When the entrance to the park came into view, we were extremely relieved. Our feet could not take much more than that! (I have always found descending to be much harder than climbing. Next time we will do the longer version, so the descent is not so intense.) The basecamp crew picked us up and drove us to their headquarters in Senaru, where we washed up a little, retrieved our bags and sat down in a comfy car that would take us all the way to Kuta. We had survived and let just say we did not see much of the drive to Kuta.
Final thoughts
Apart from the crazy weather, I absolutely loved our Mount Rinjani Trek. Am I bummed that we did not reach the peak? Yes, but safety is more important. So, we will definitely be back one day to redo the trek and visit the hot springs at the crater lake as well. These hot springs would have been so nice to wash off all of the sand and dirt caked on our bodies.
After the Rinjani we quickly made our way to Kuta, Lombok, where we rented a motorbike, had amazing food, and explored its coastline and Sasak Village. Curious? Then sign up to my newsletter or follow me on Instagram to be the first to know when those articles air. In the meantime, read up on the rest of our Singapore and Indonesia adventures, including what to do in Yogyakarta, where to eat gluten free in Malang and how to make the most of your time on Gili Trawangan.
Footnotes


